
The Final Purpose of Step 3
Know that, at this point you shall no longer be asking yourself “Will this work?” you already answered that.
If Step 1 solved the composition and silhouette, Step 2 validated and grounded the idea, then Step 3 is where you commit to the whole thing, now you are executing, this is where you perform.
You’ll Copy Yourself and This is Fine
This is where my discovery of the method became complete, even before adopting it I already found easier to do my own version of something that was already done. From a point of view, this is also the case for this step, you’re copying an existing piece of work, the good part is that you are also the author of the original drawing you are about to polish. This is not cheating, and if it is, then it is the only cheating nobody will ever accuse you of doing.
The Time for Performance (not exploration)
Here’s where you scale up your middle sketch to the final Artwork intended size, either by tracing, scaling up in the computer or projecting into the canvas, you’ll work on the larger size you originally wanted the art to live with the confidence that it will work, all you need to do is doing it.
Don’t get me wrong, you can still make a few decisions on this phase, but they must not be foundational, nothing that will change drastically the composition, design or negative spaces.
Quality without Obsession and Knowing when to stop
One of the greatest traps of Step 3 is not poor execution, but failing to recognize when the artwork is complete. Performing with the best quality and the best material has a small big trap of perfectionism.
A phrase I love about wrapping up writing a book is that they are never finished, only abandoned. We can borrow that principle for our step 3, because in here, you can also fall into the temptation of endlessly add details; don’t, if you add too many details the whole artwork will end up in a oversaturated wall of things.
You might also be tempted to repeat the final artwork or try different high quality materials if the outcome is not what you wanted. This is something the middle sketch allows you to do, you have the blueprint to do the final work over and over again, but you should keep this fact in check.
Know when to stop, good is better than perfect.
Use your Preferred Medium
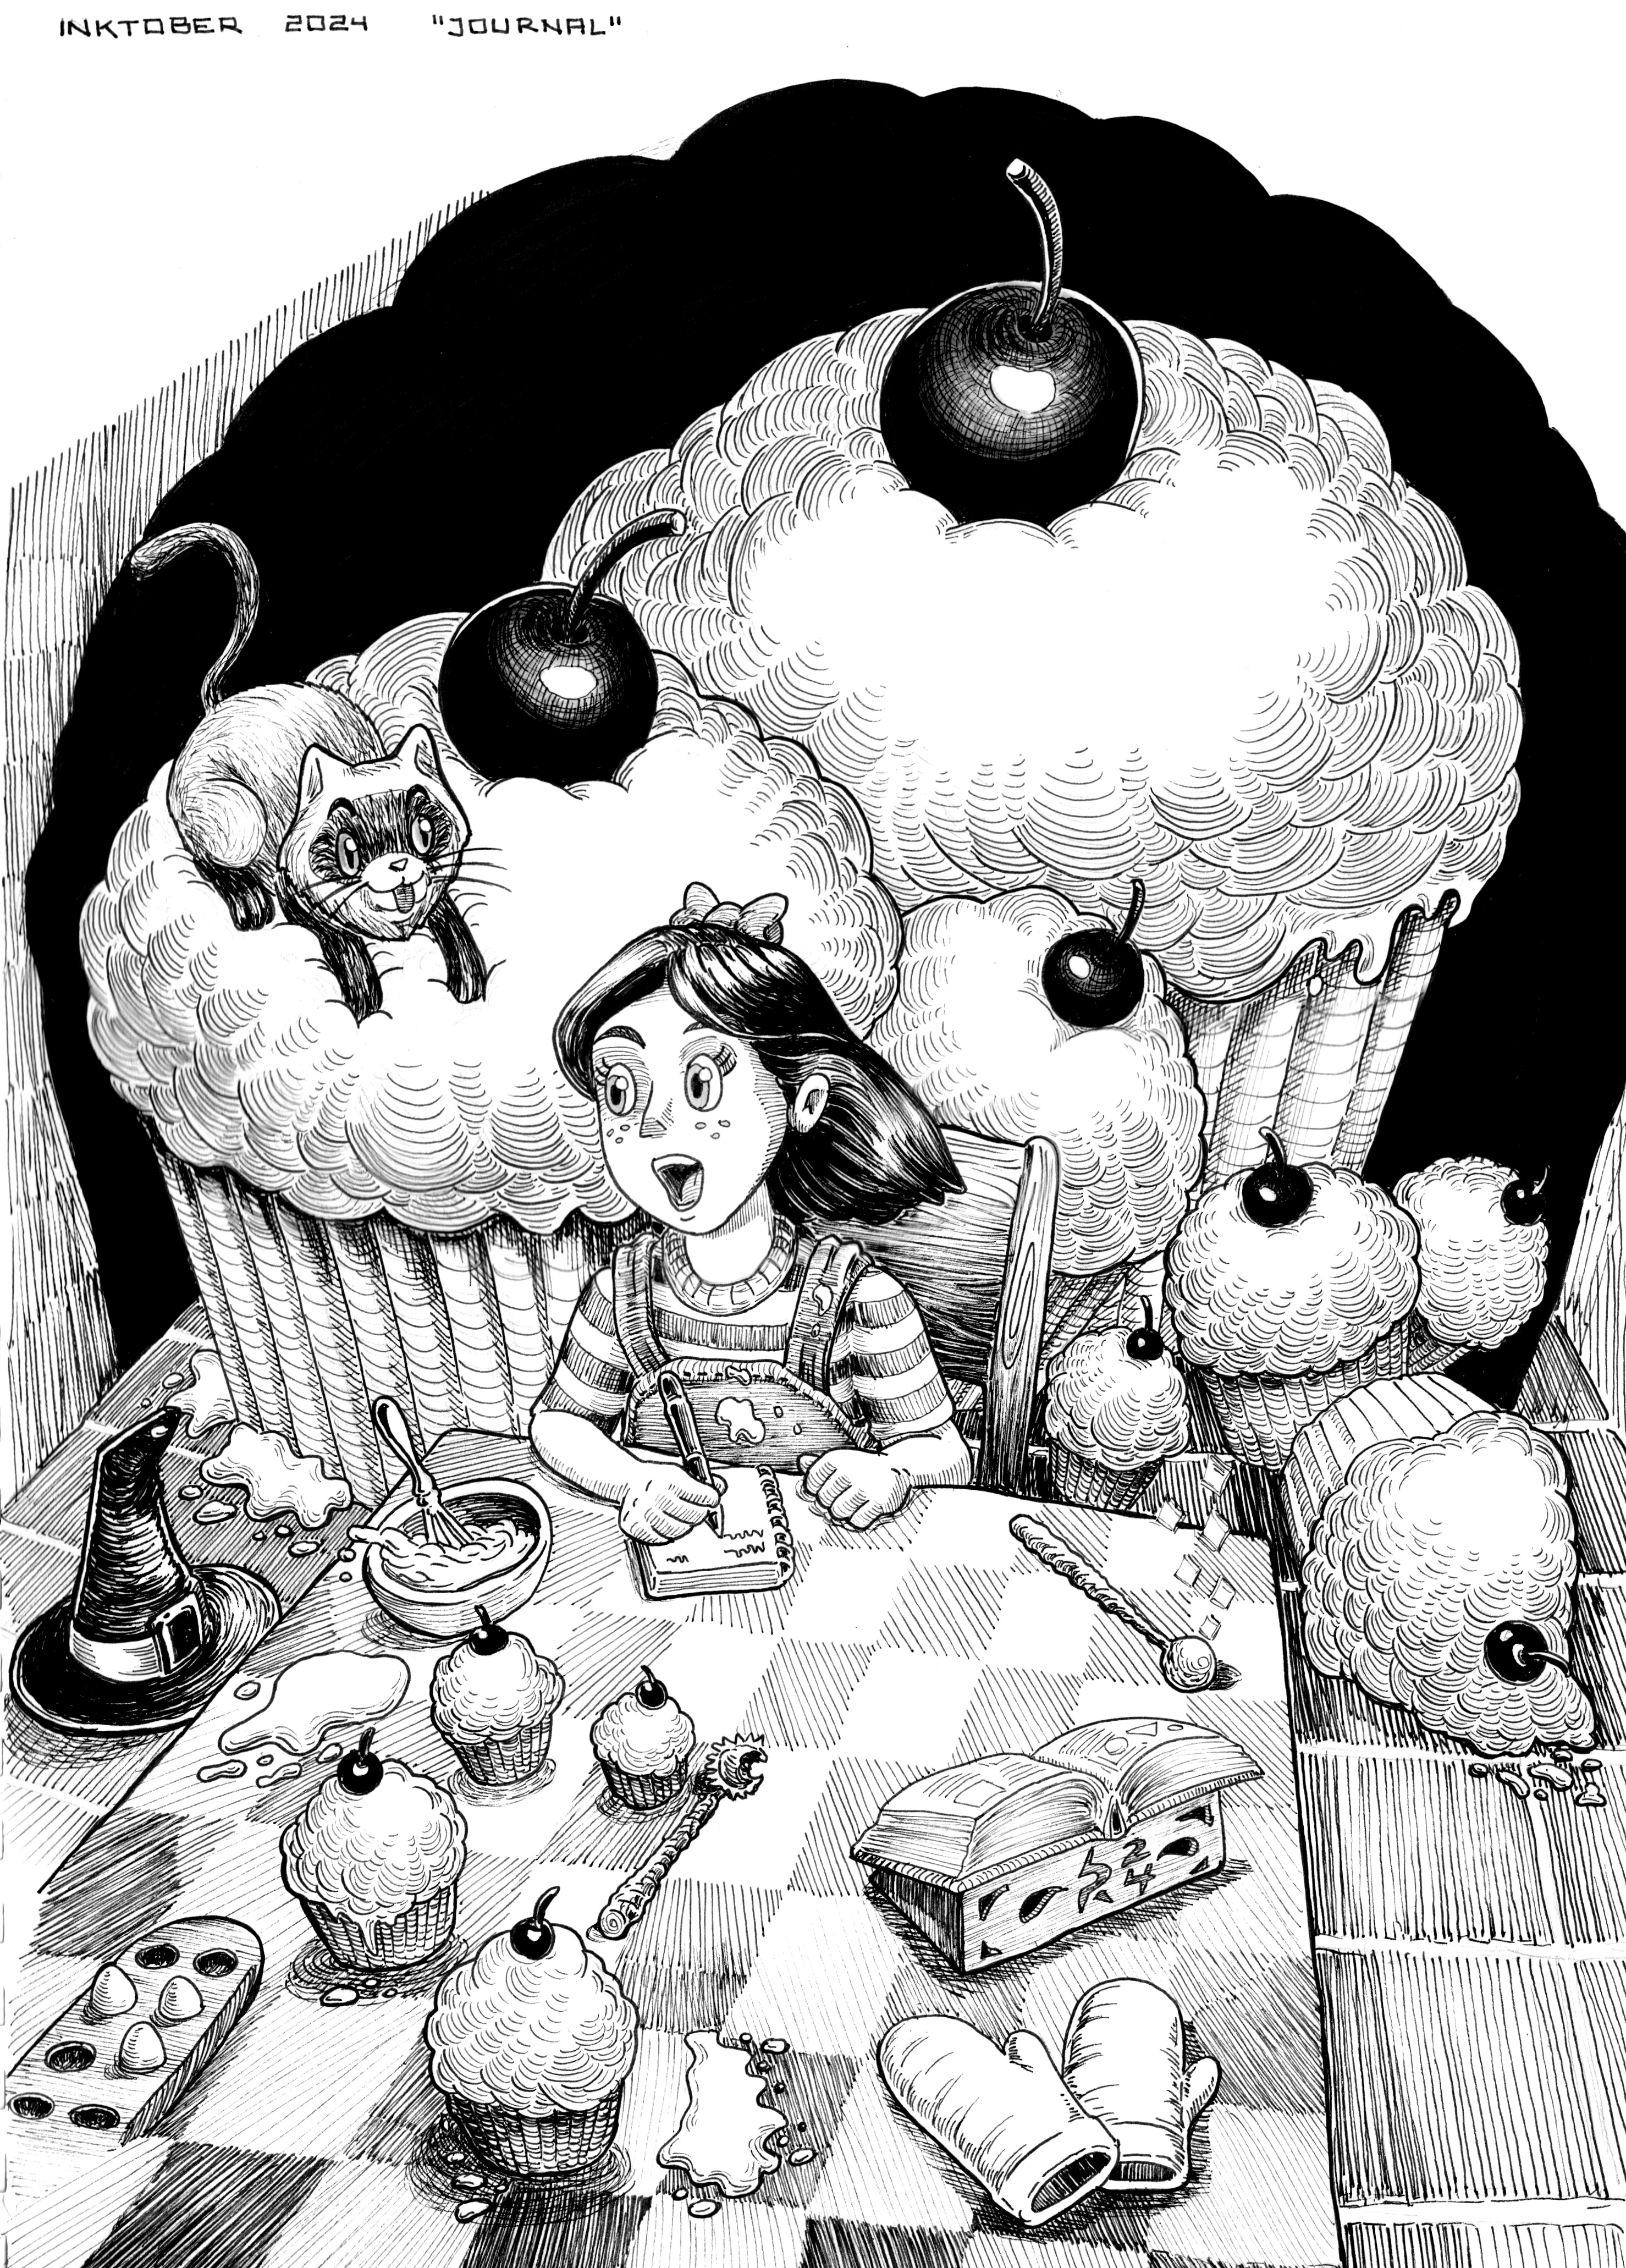
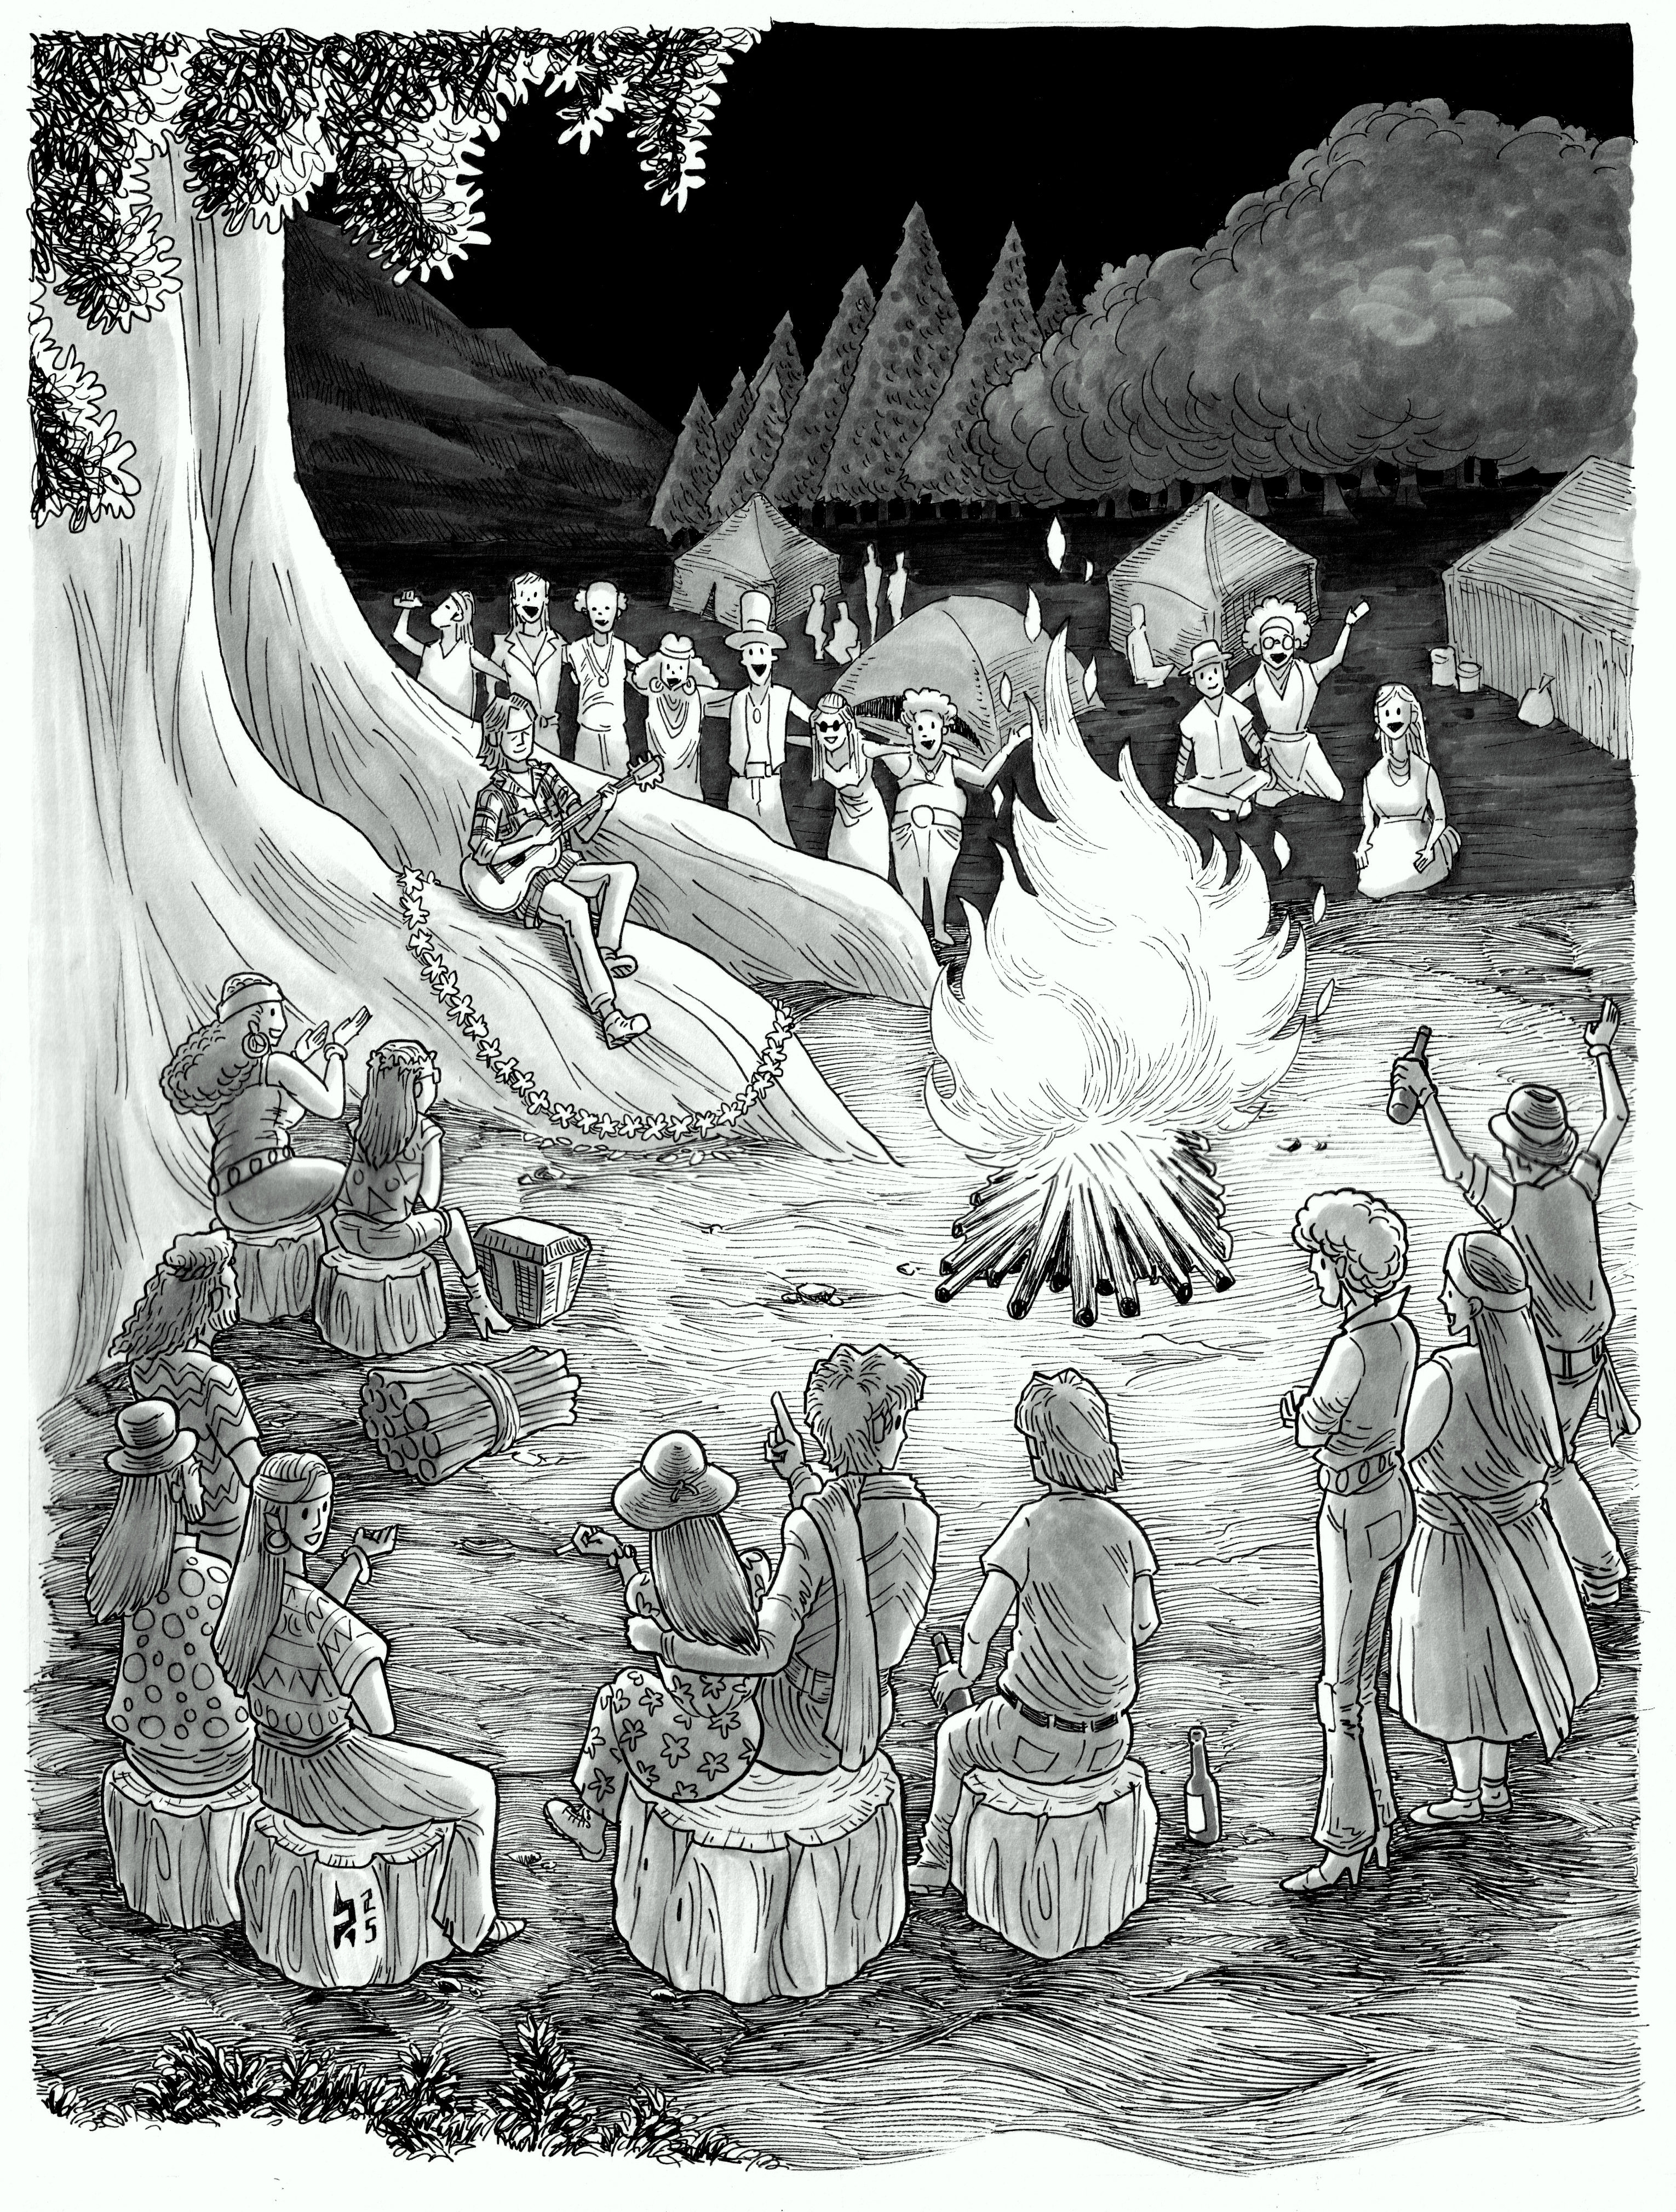
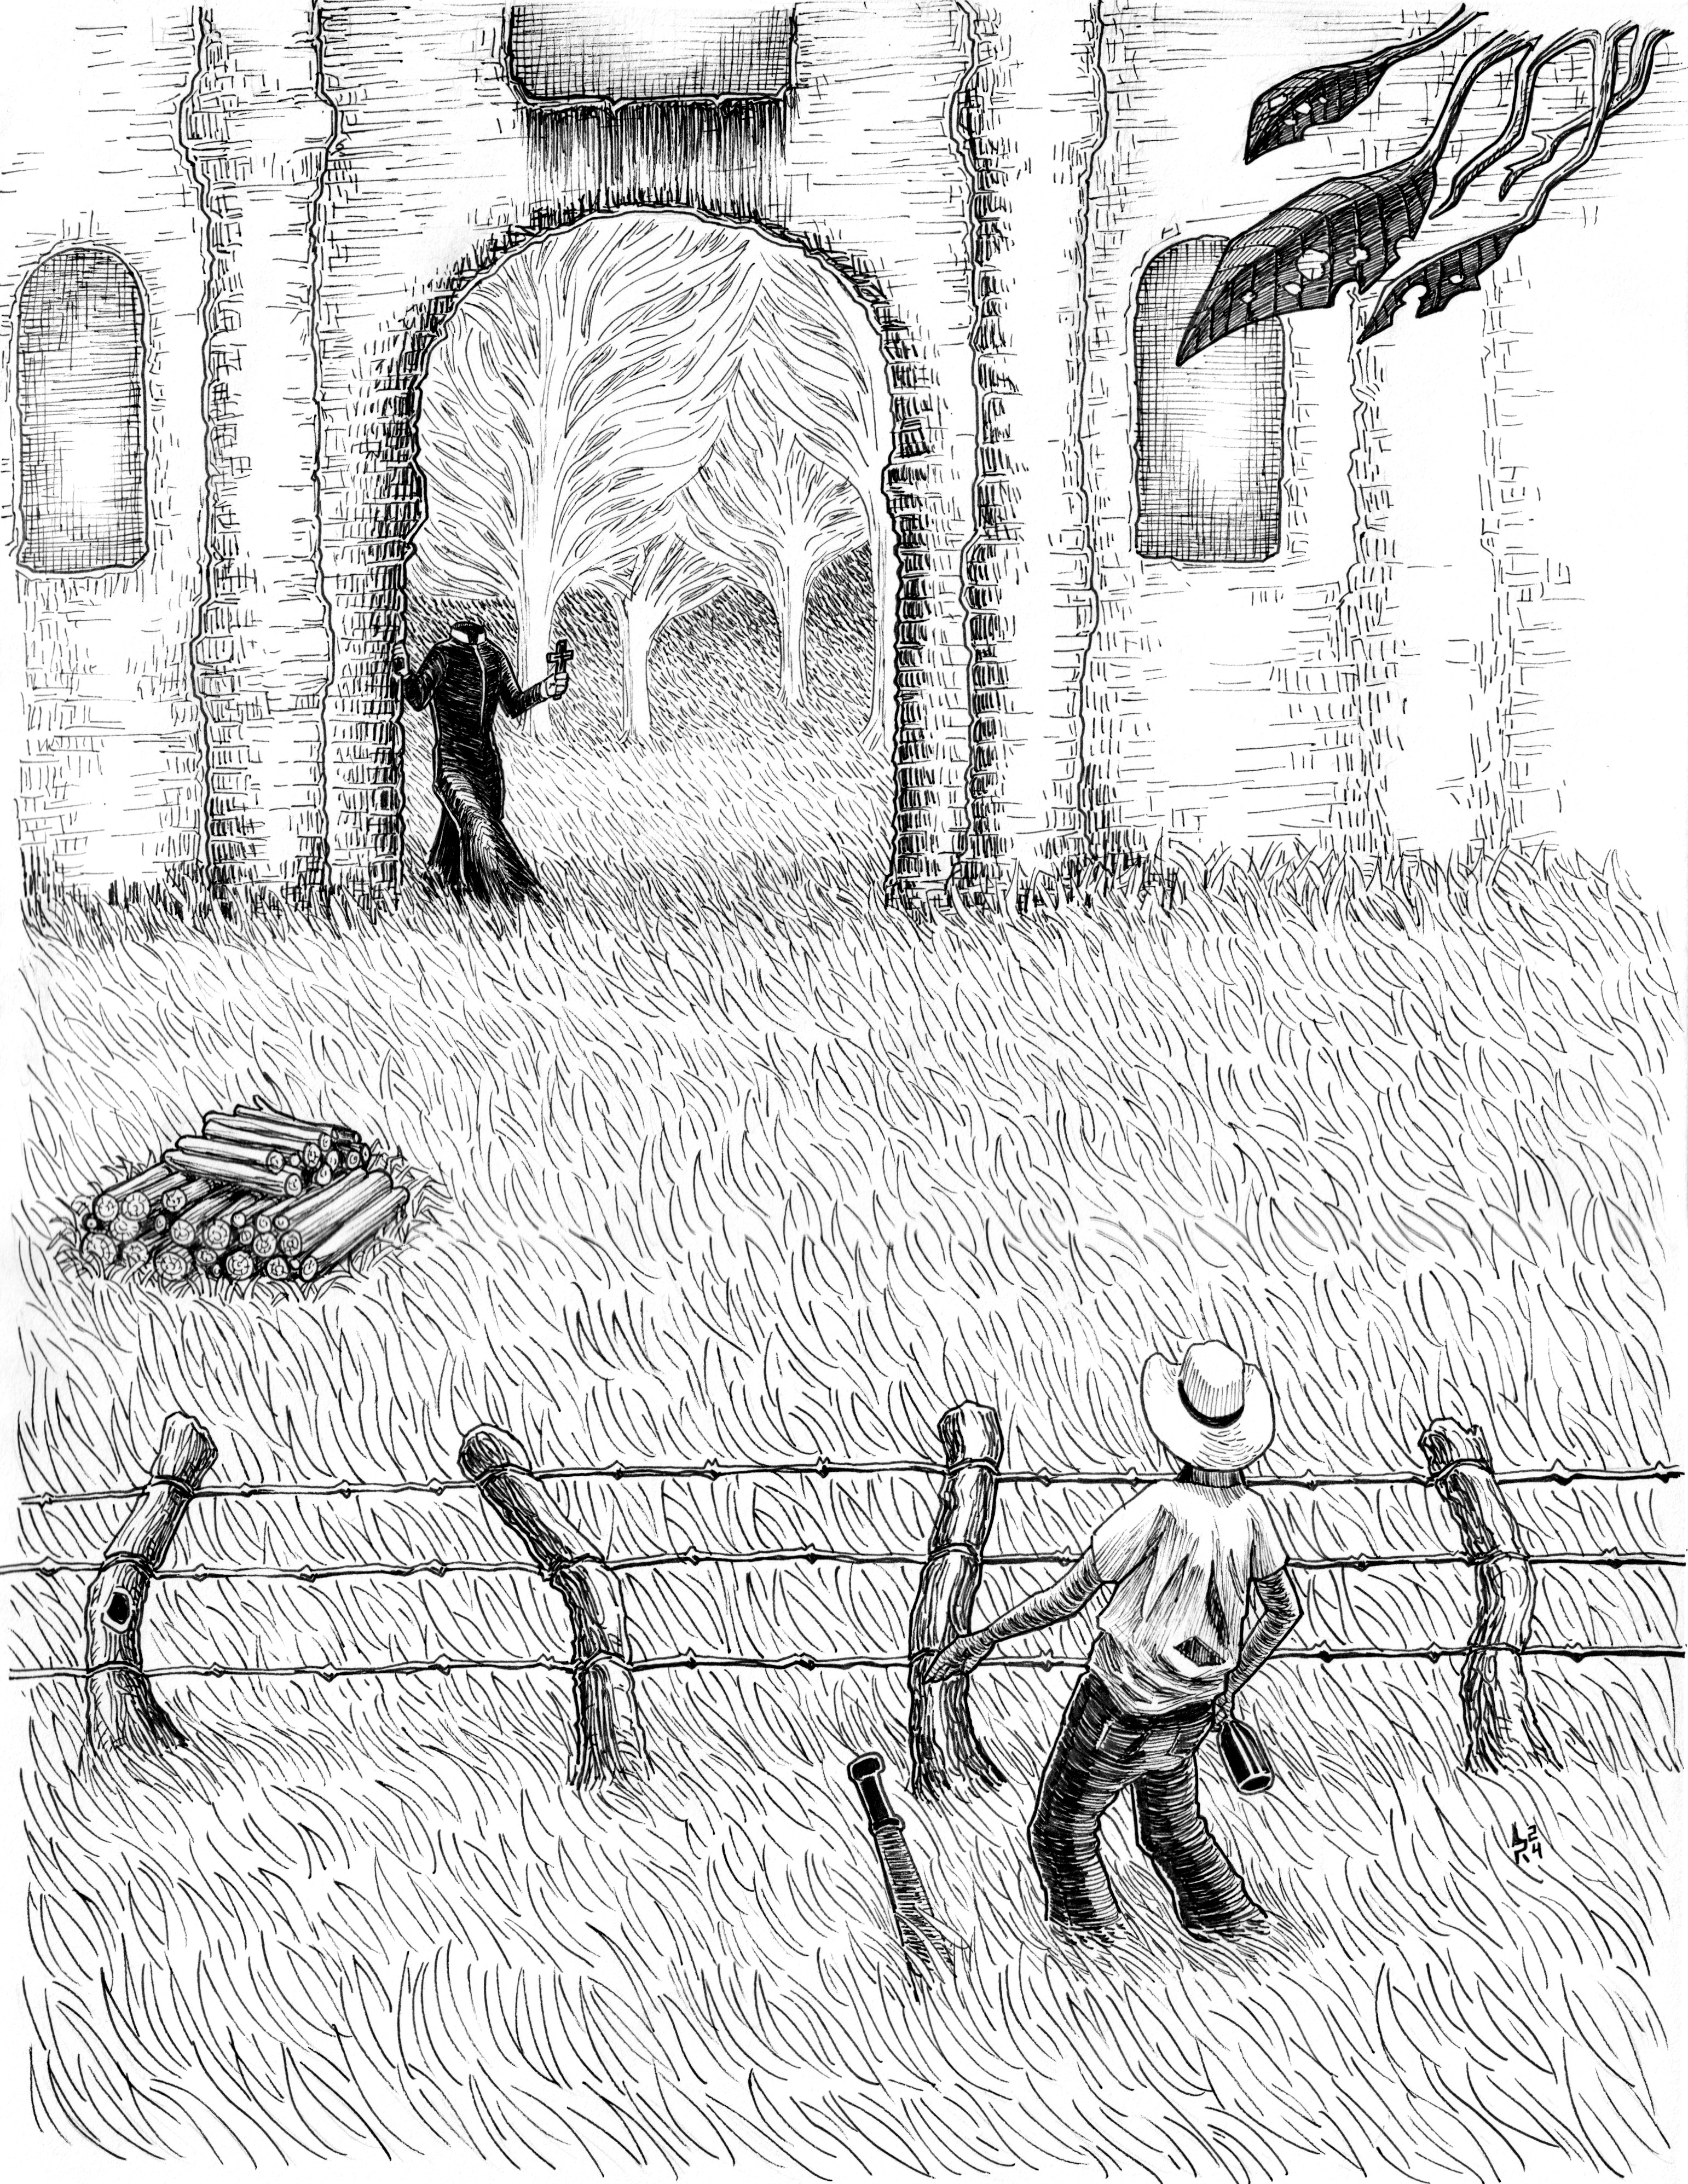
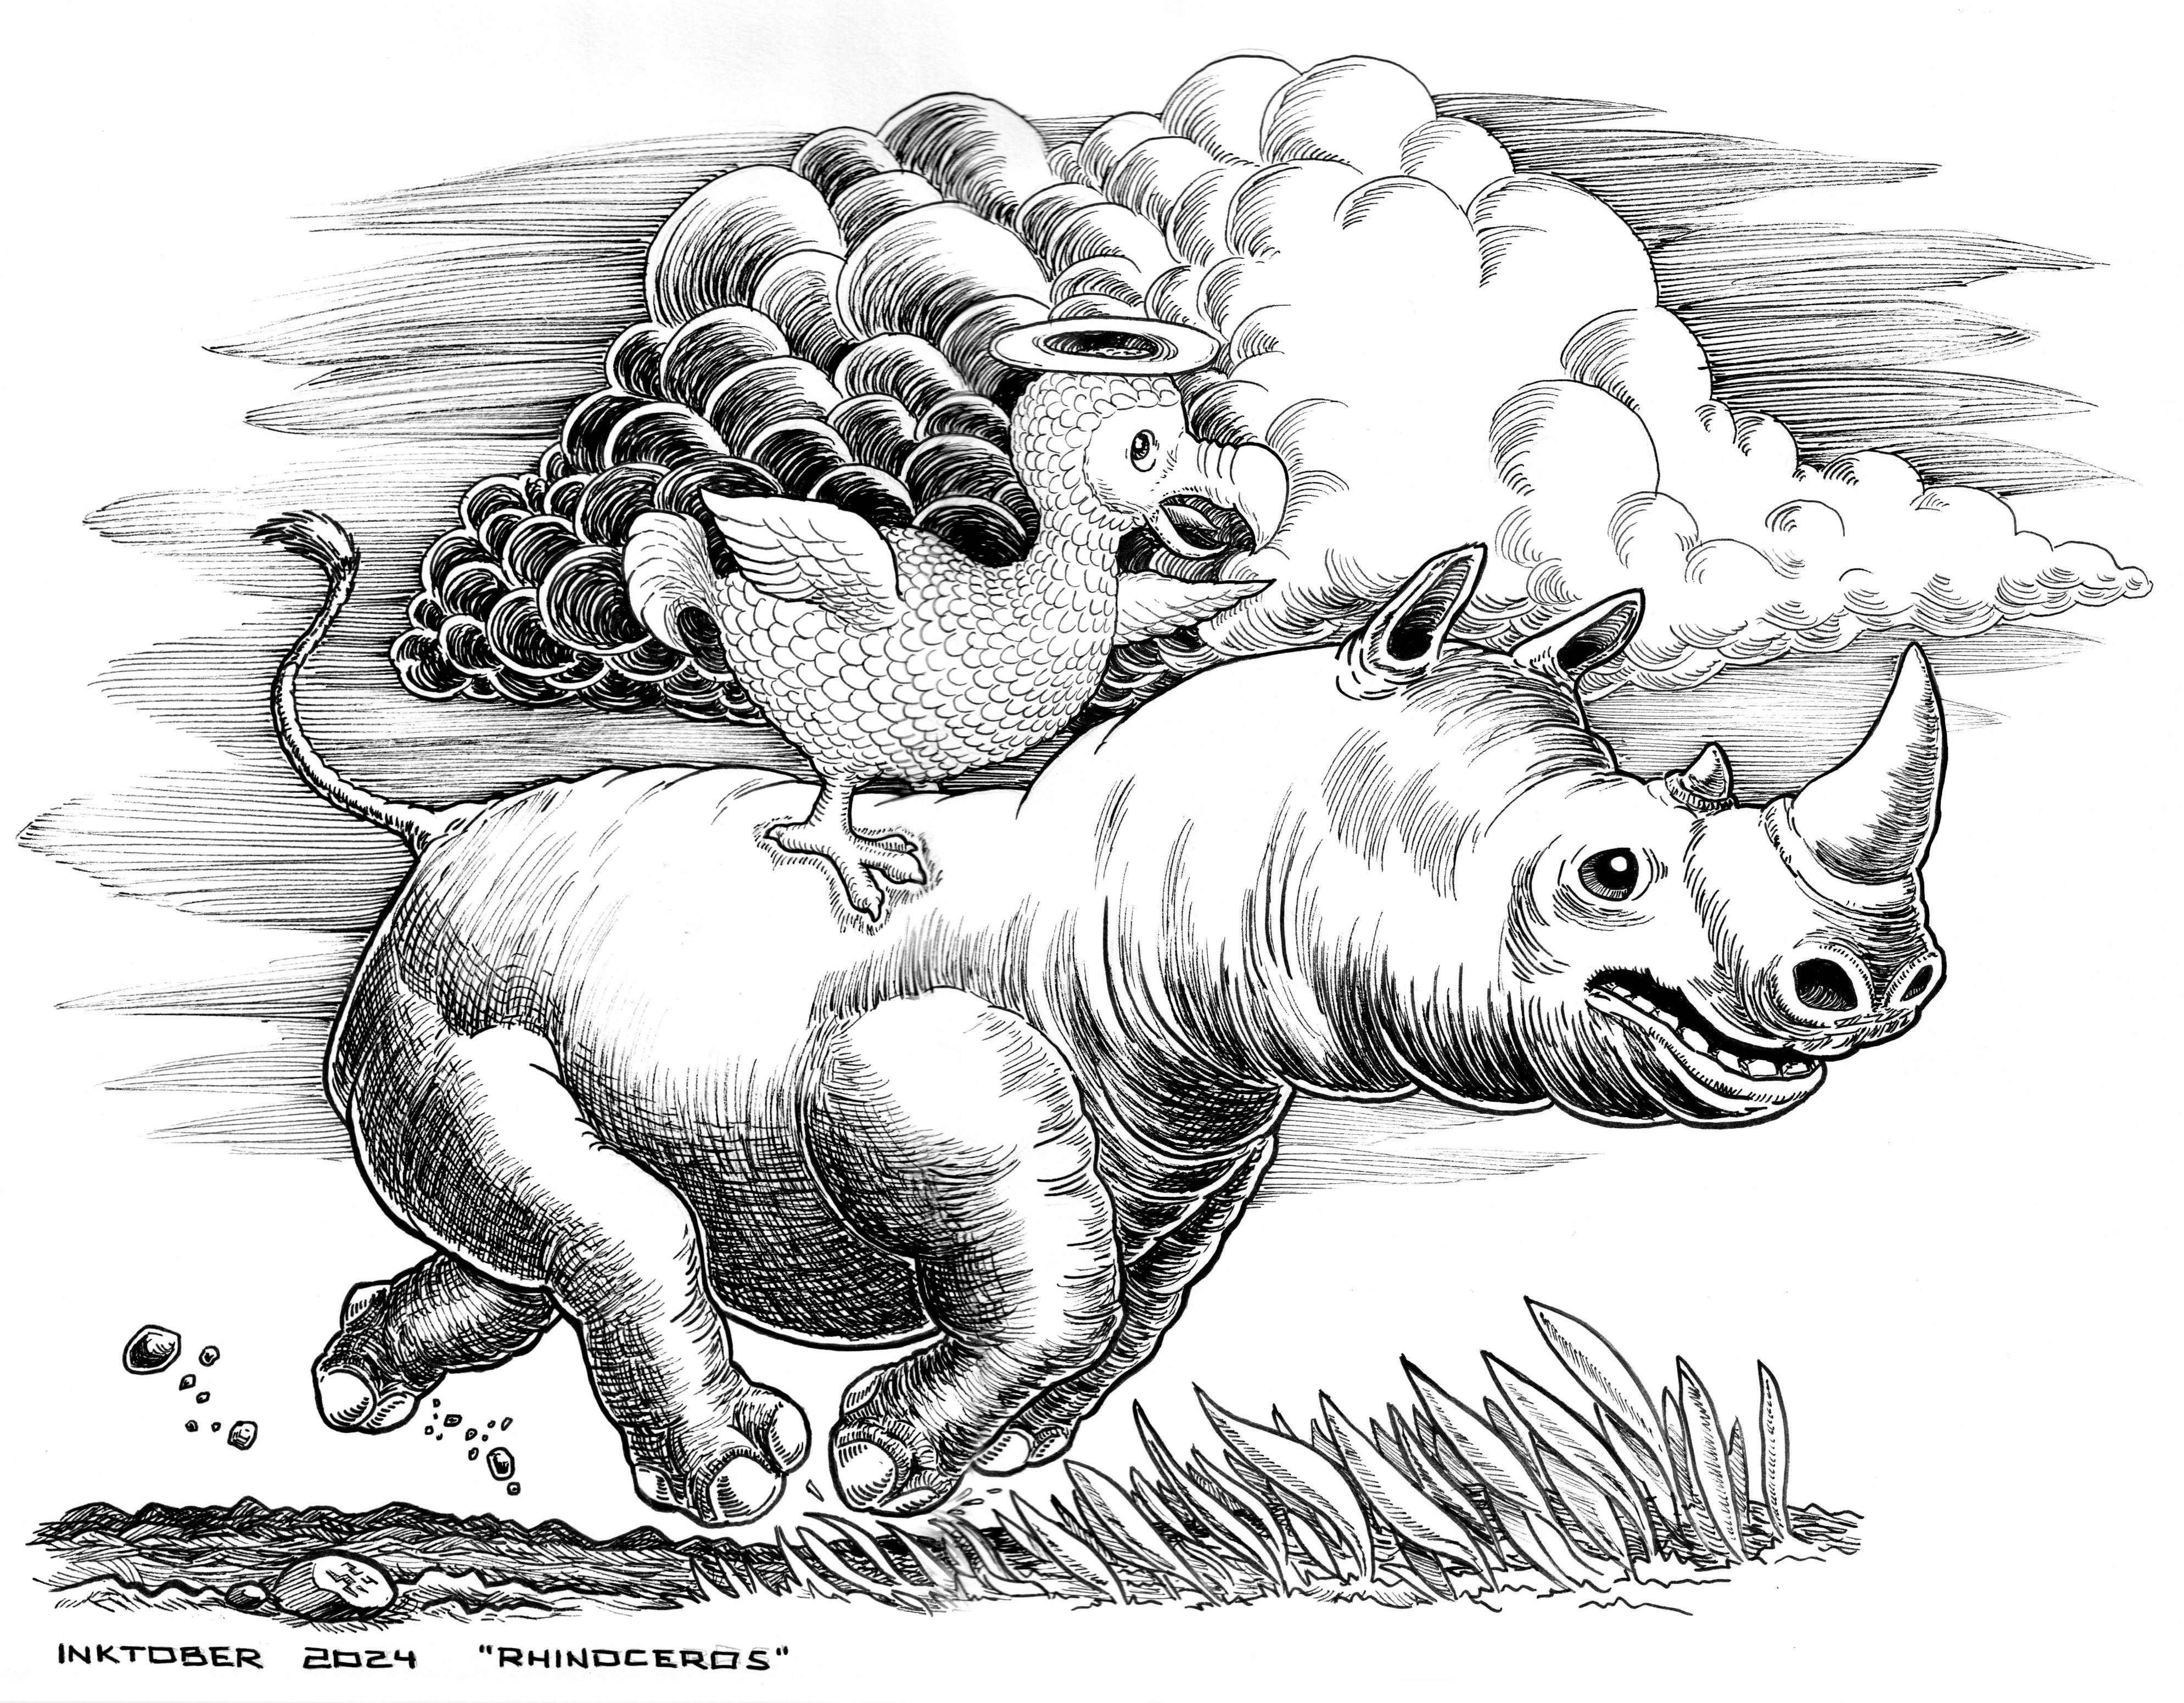
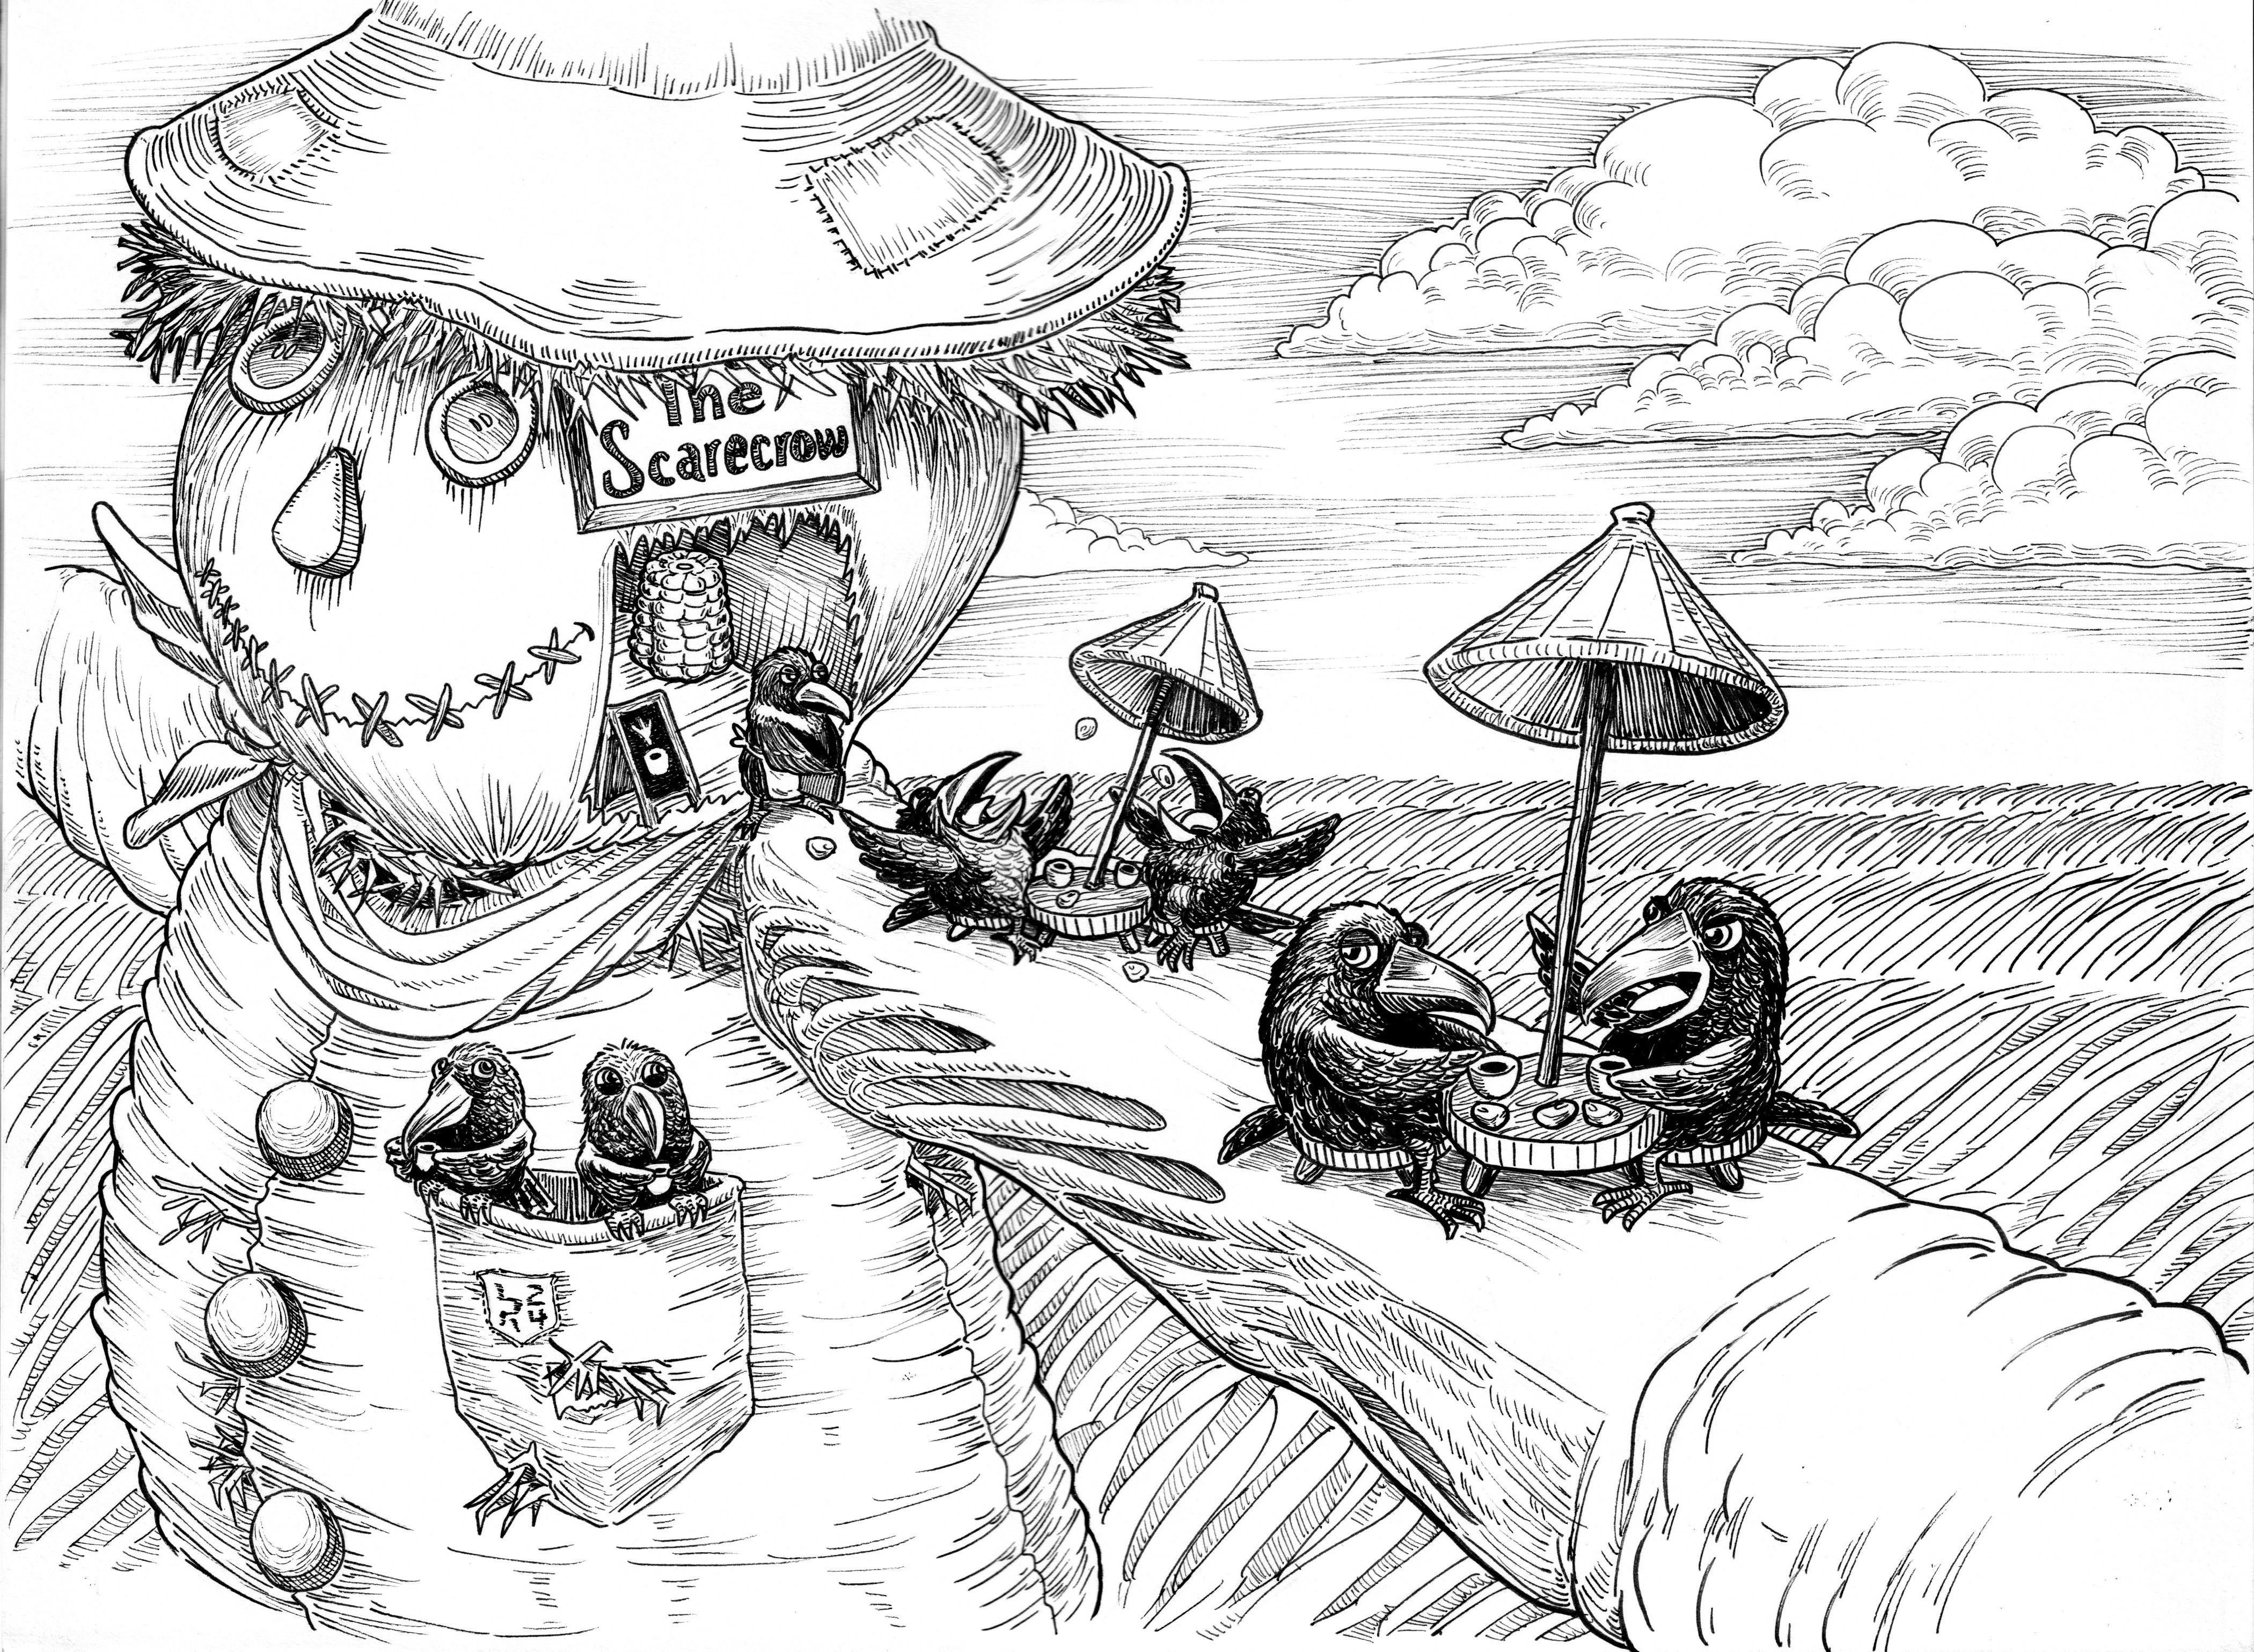
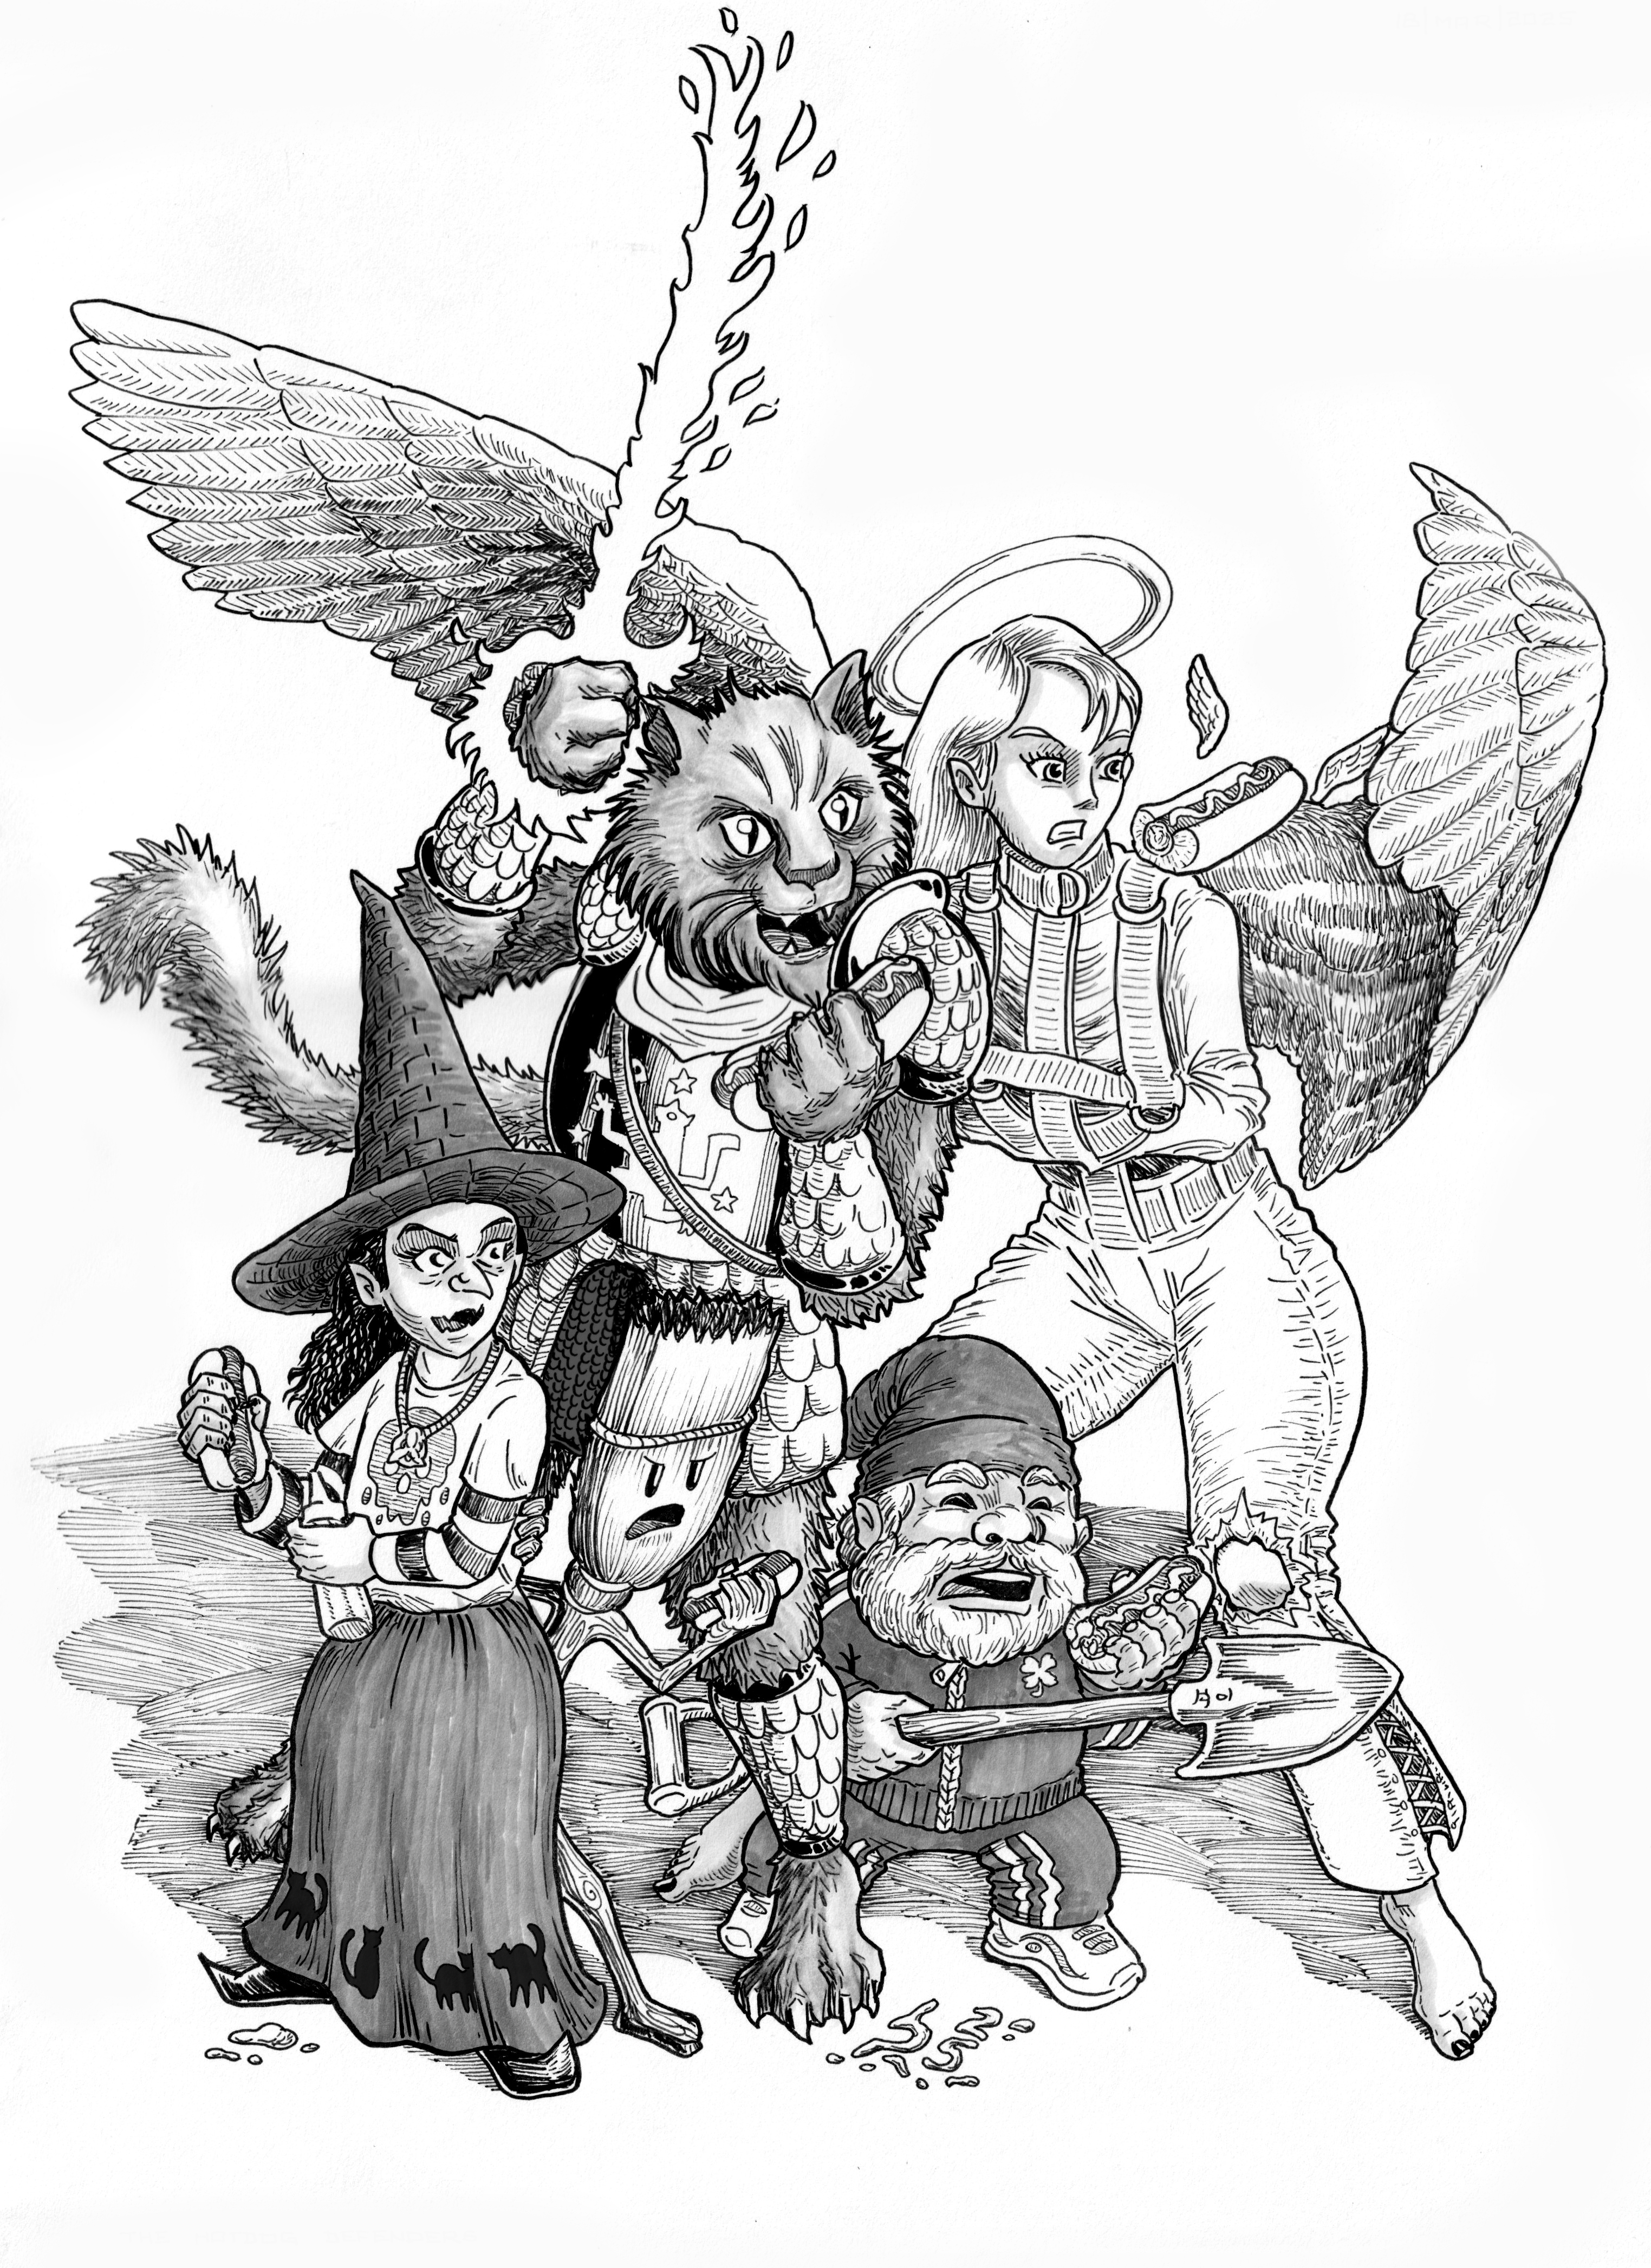
The final artwork will be done in your preferred and intended medium: watercolor, oil, acrylic, digital painting, graphite, etc. Mine is ink, it is the one I like the best and fallen in love with.
You’d like to use the one you’re best with but who am I to prevent you from trying something new, after all you are about to start over a strong foundation.
How I execute my Own Final Artwork
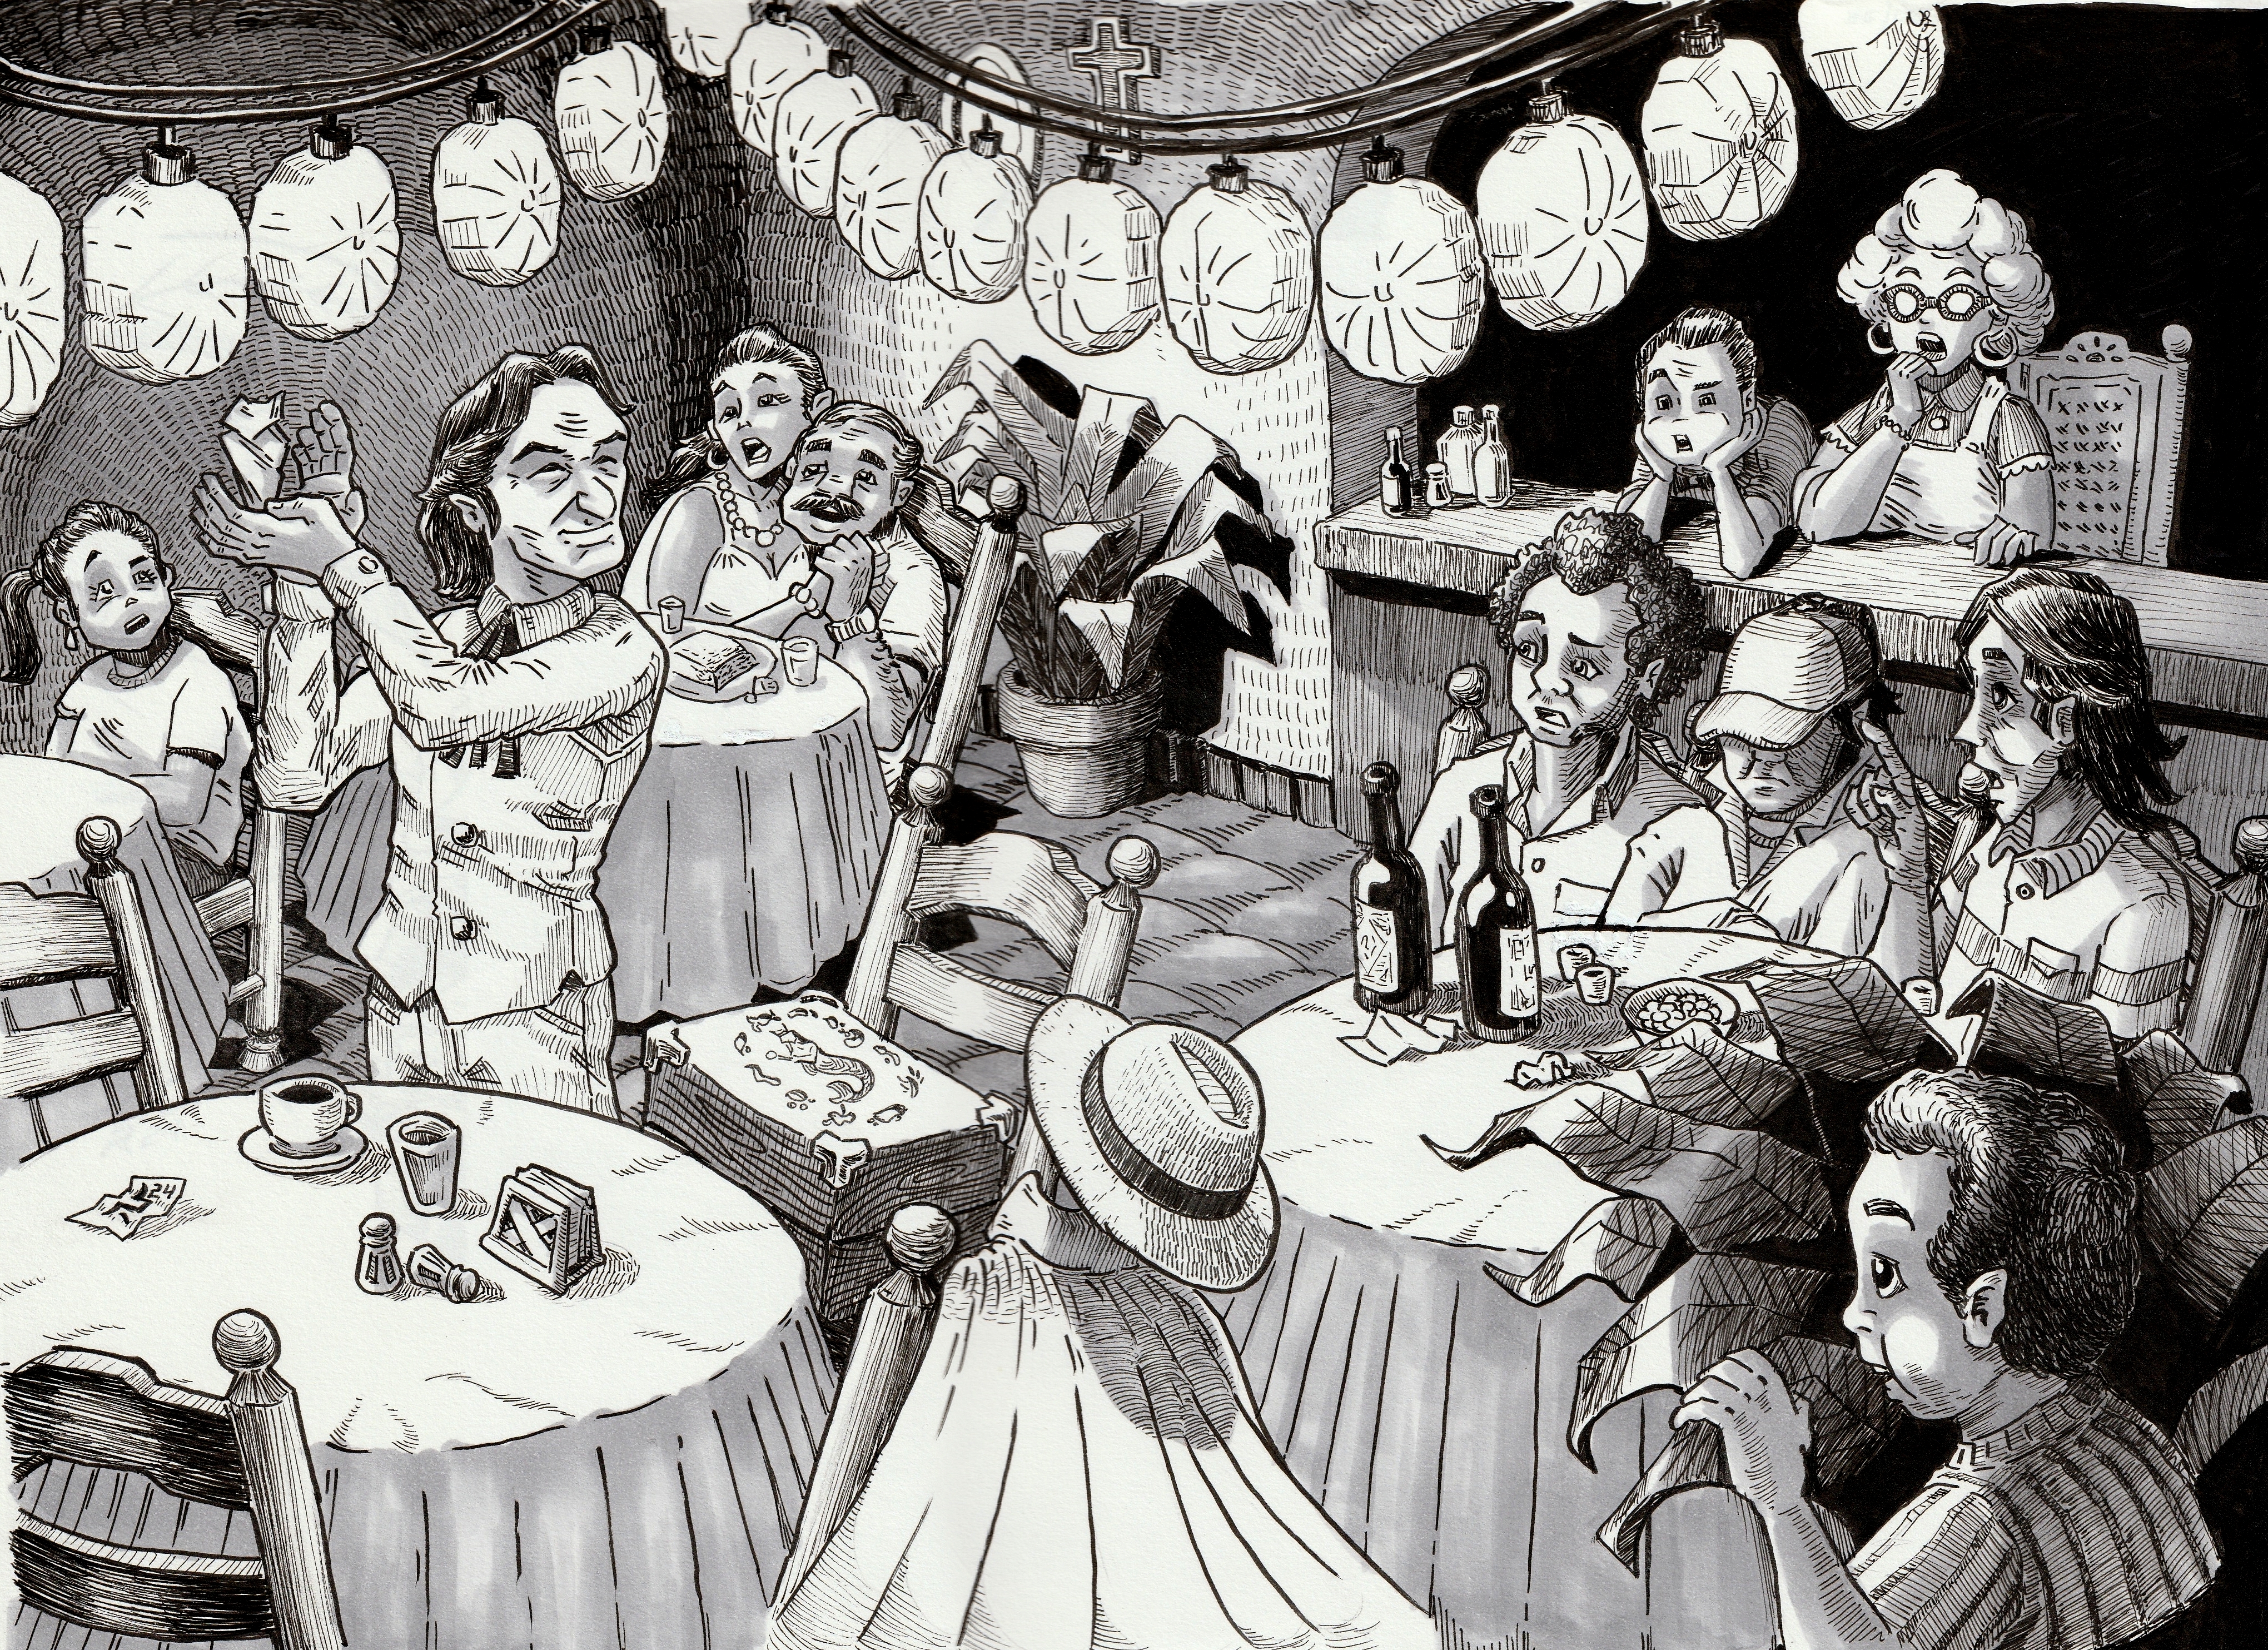
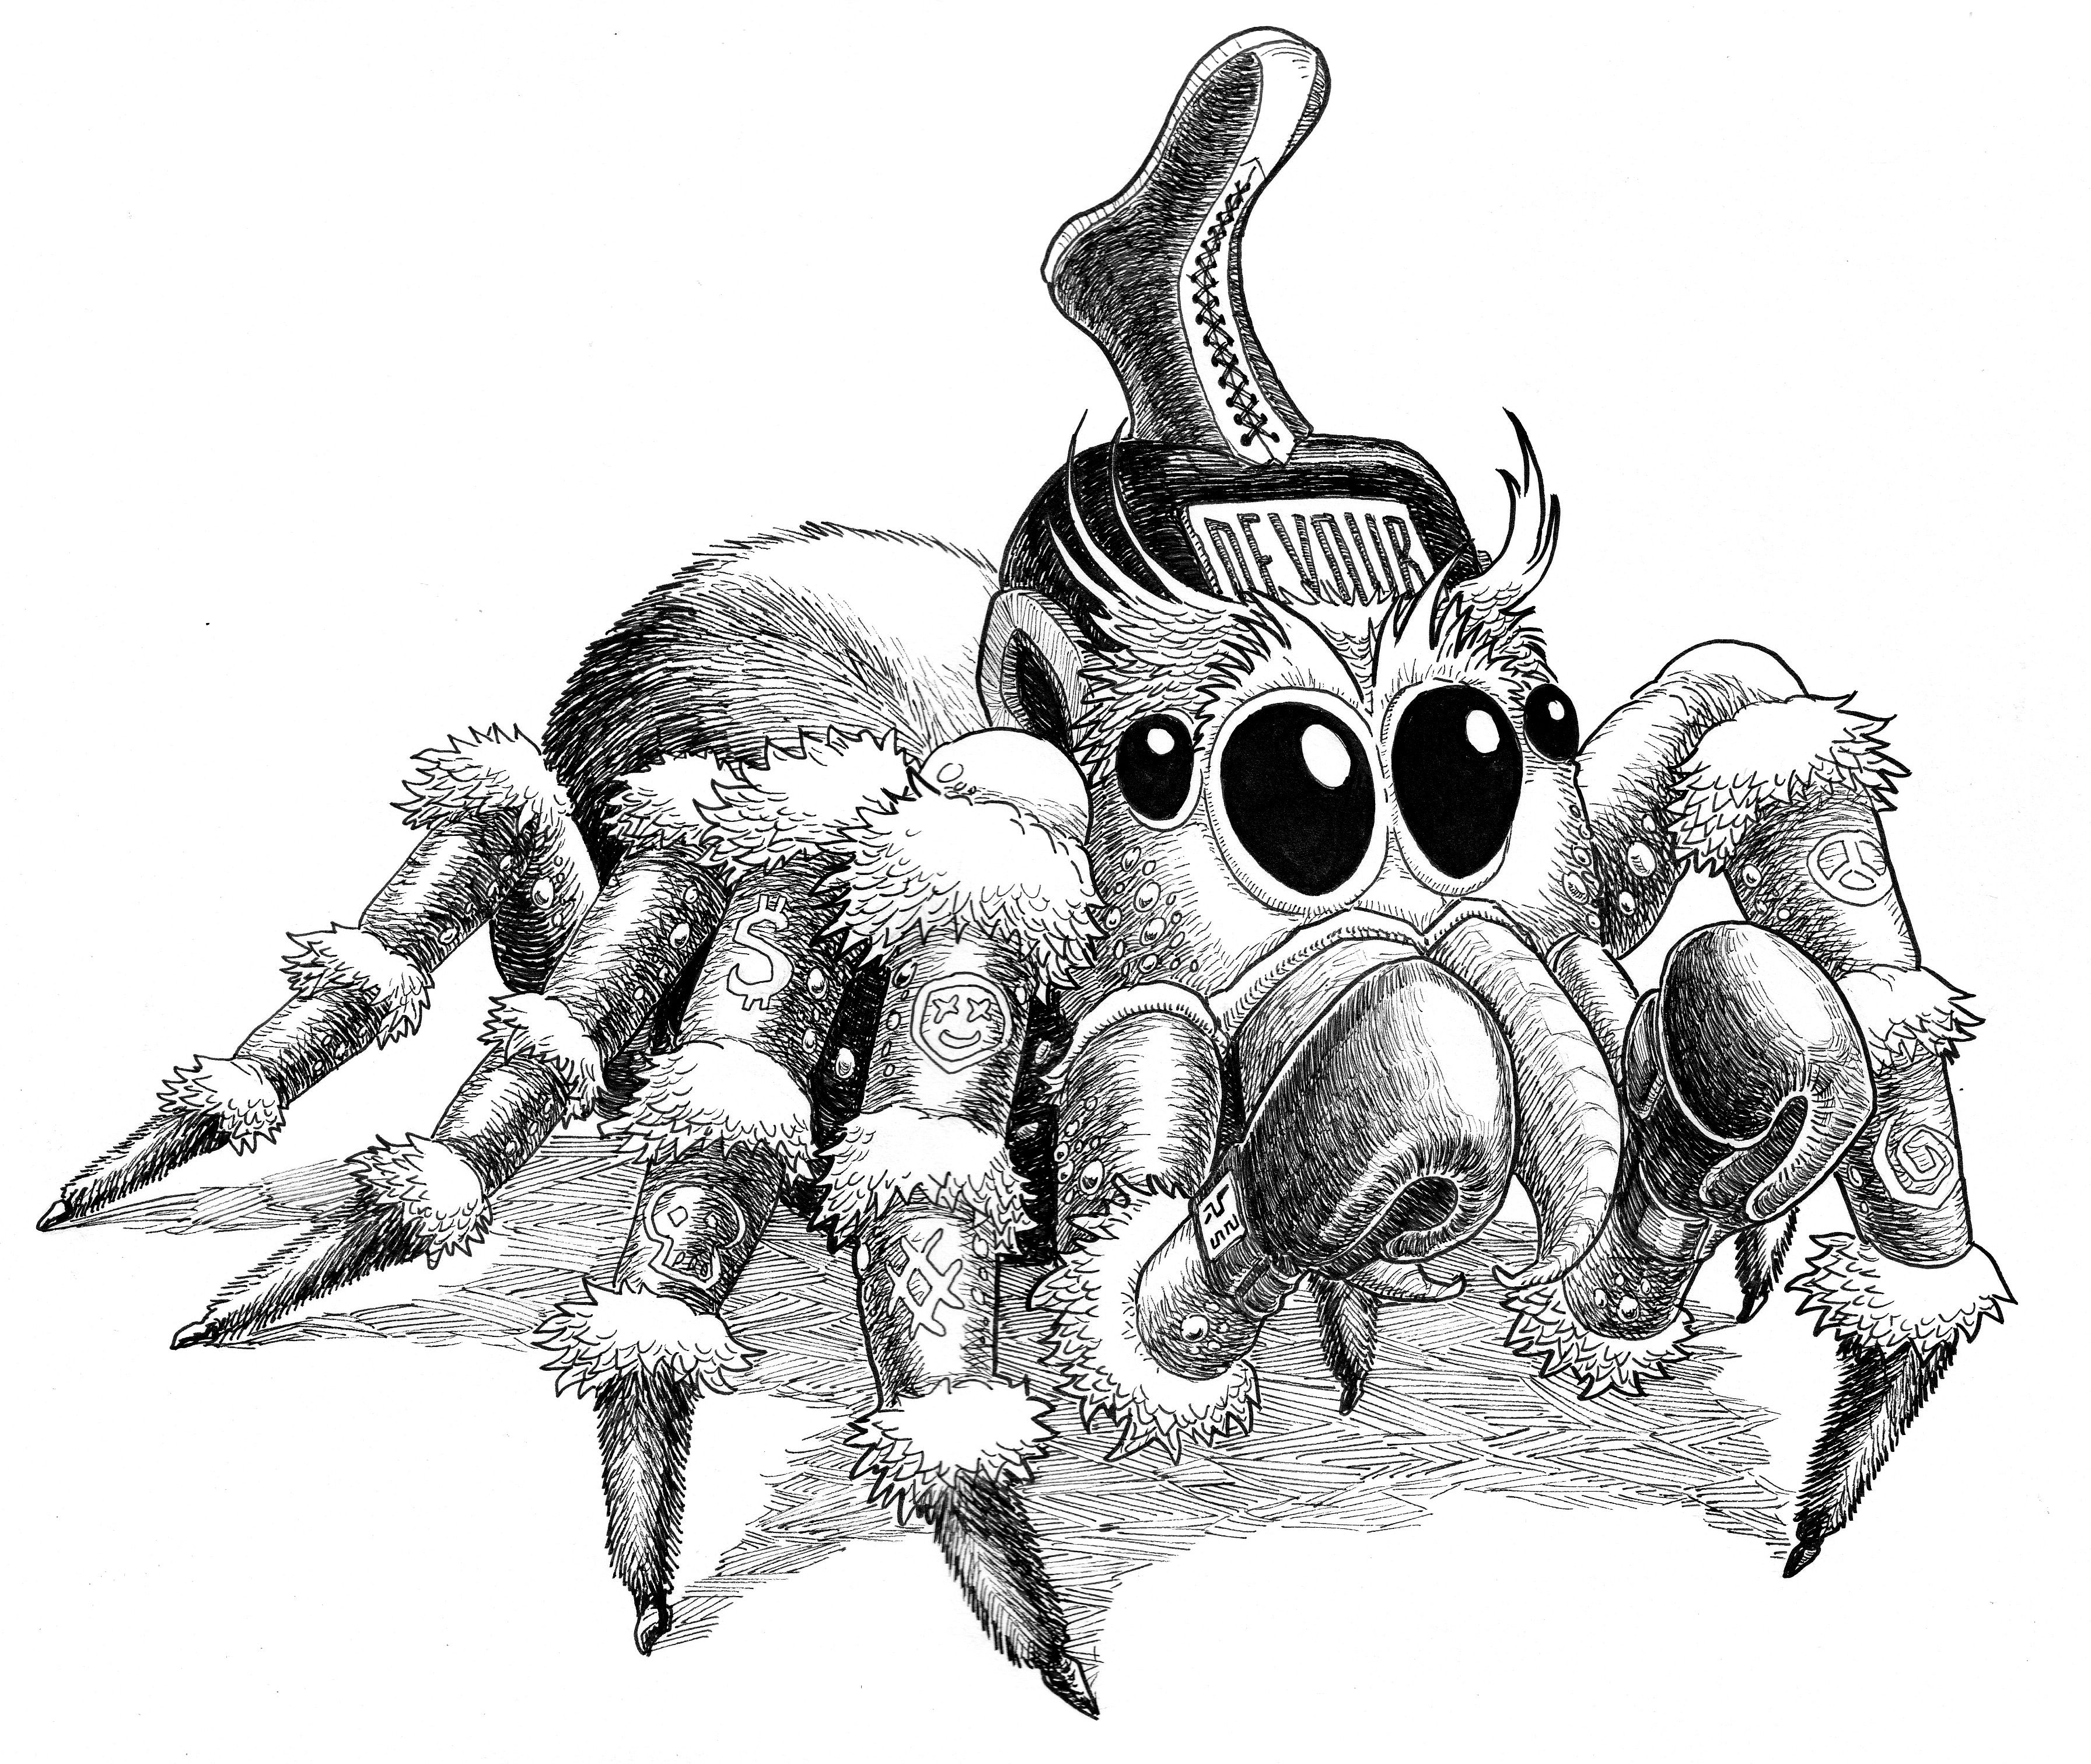
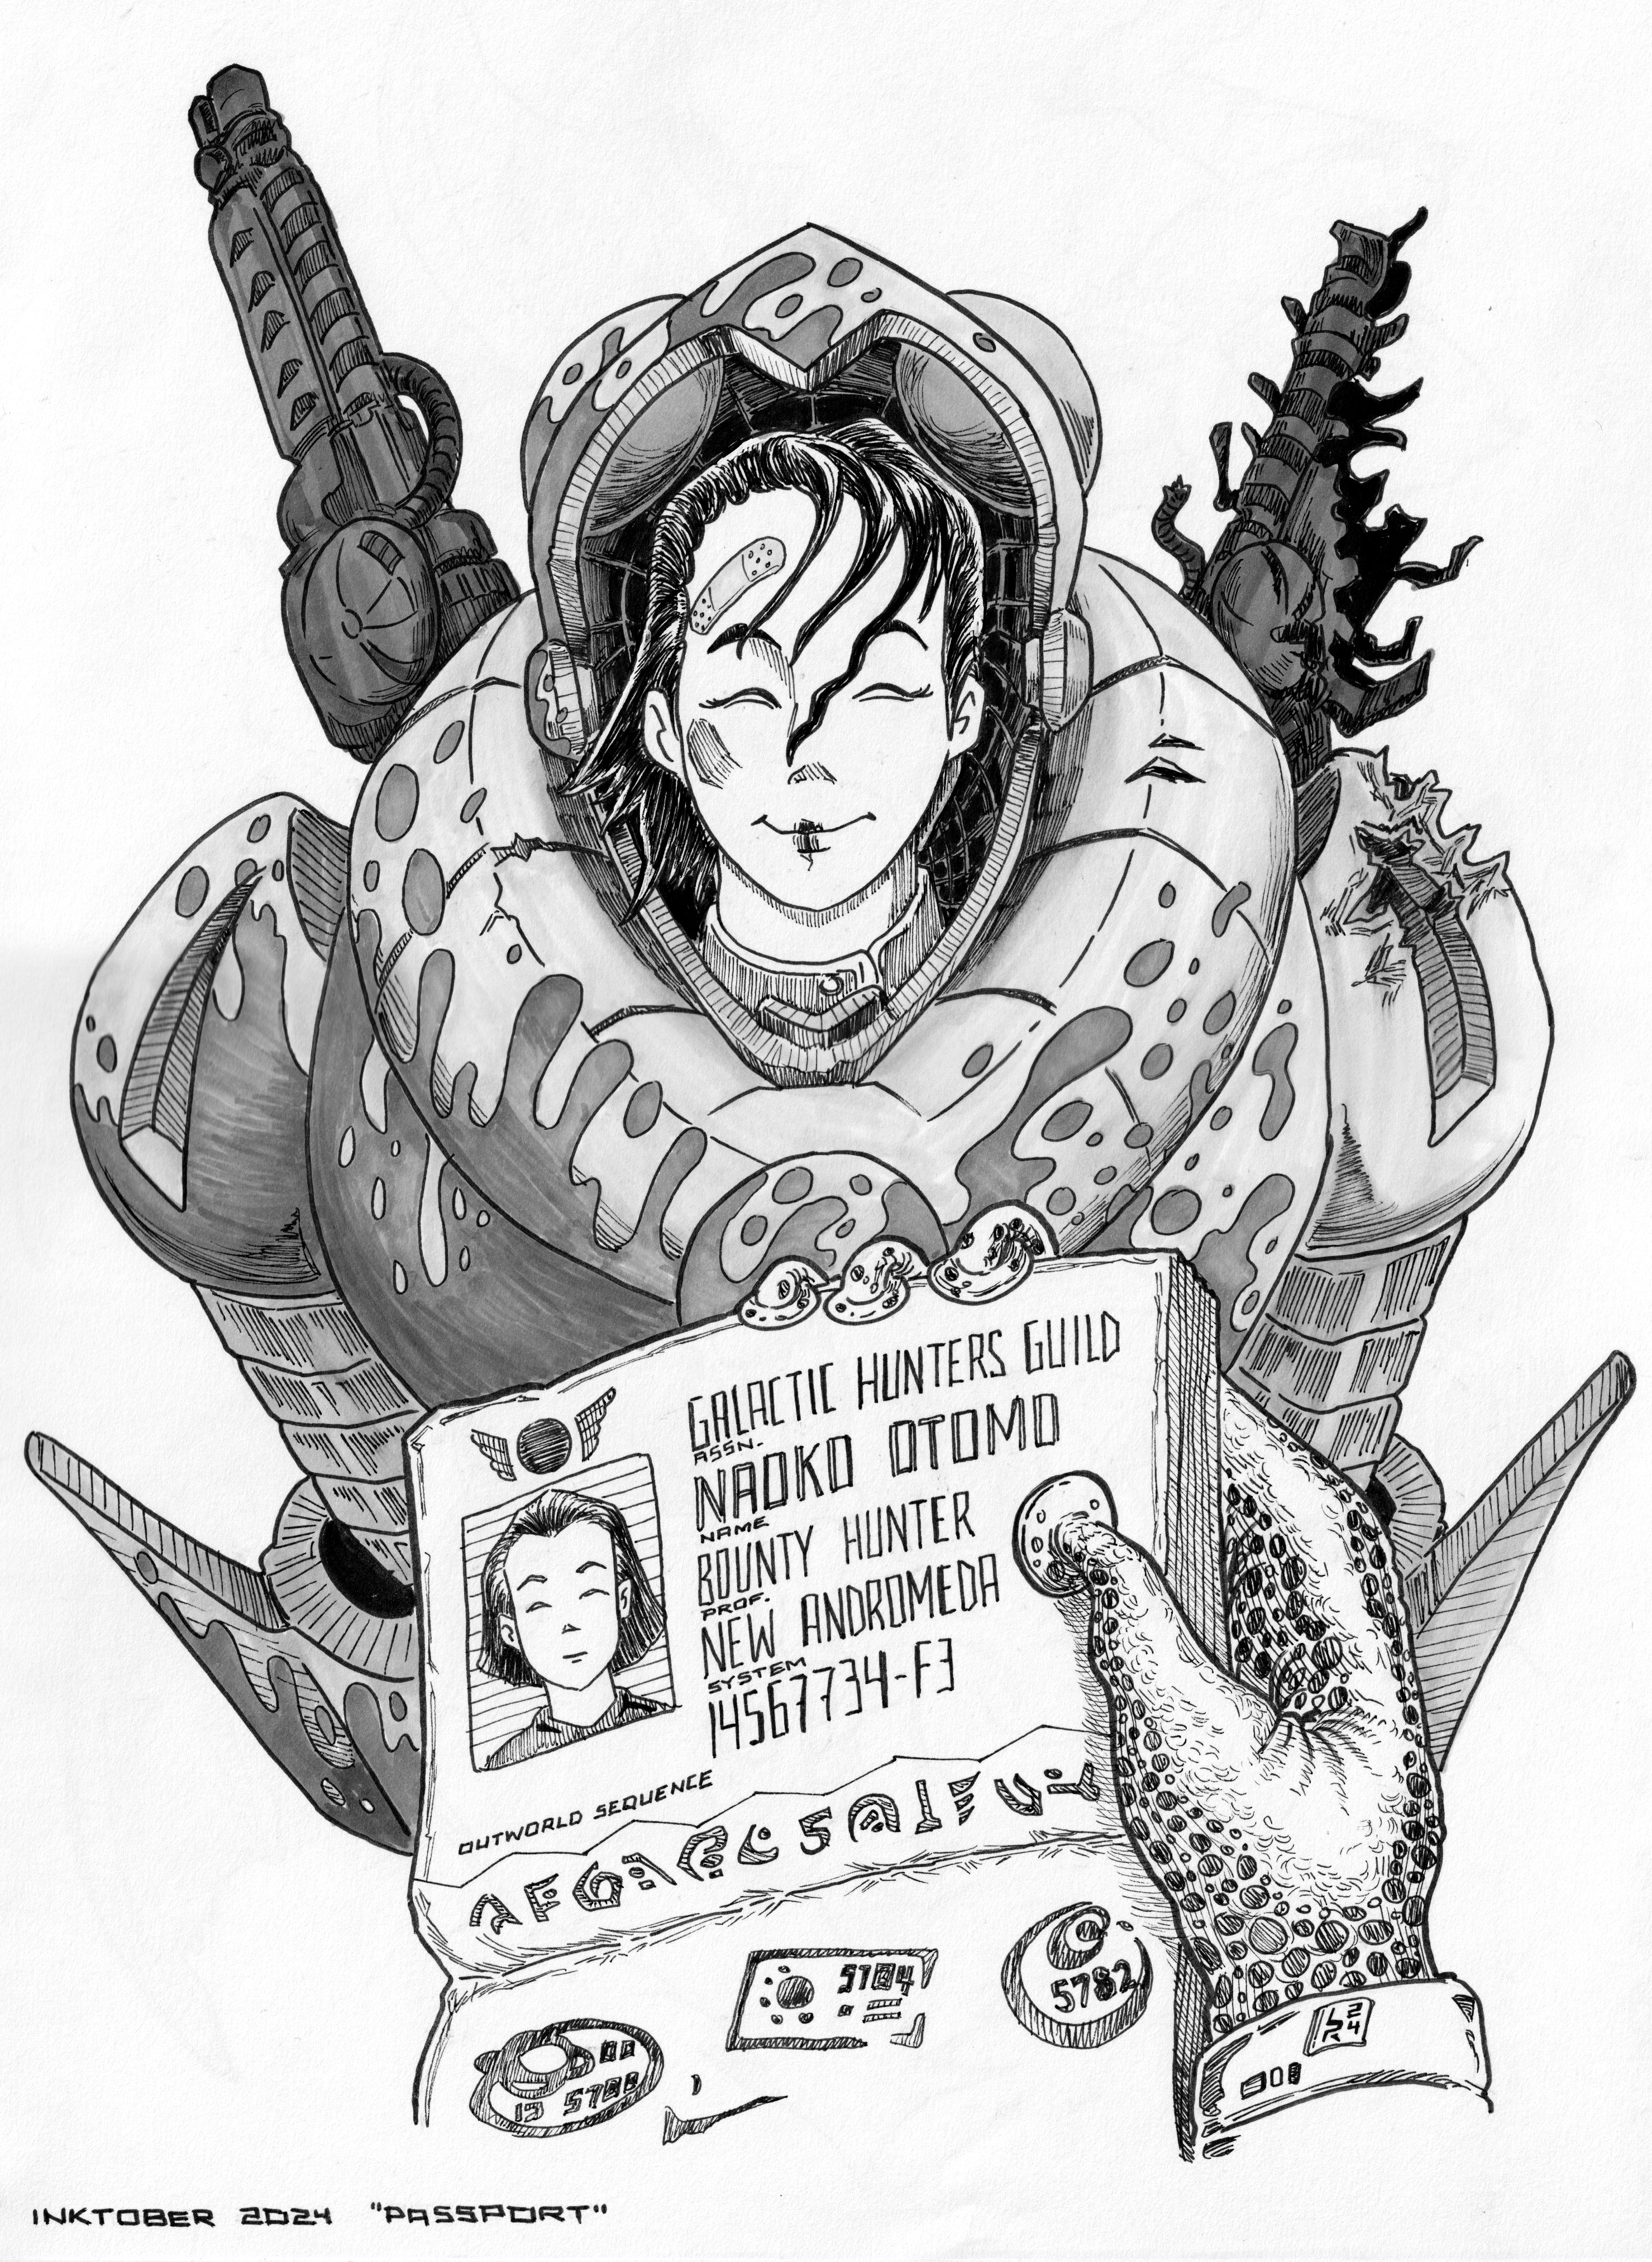
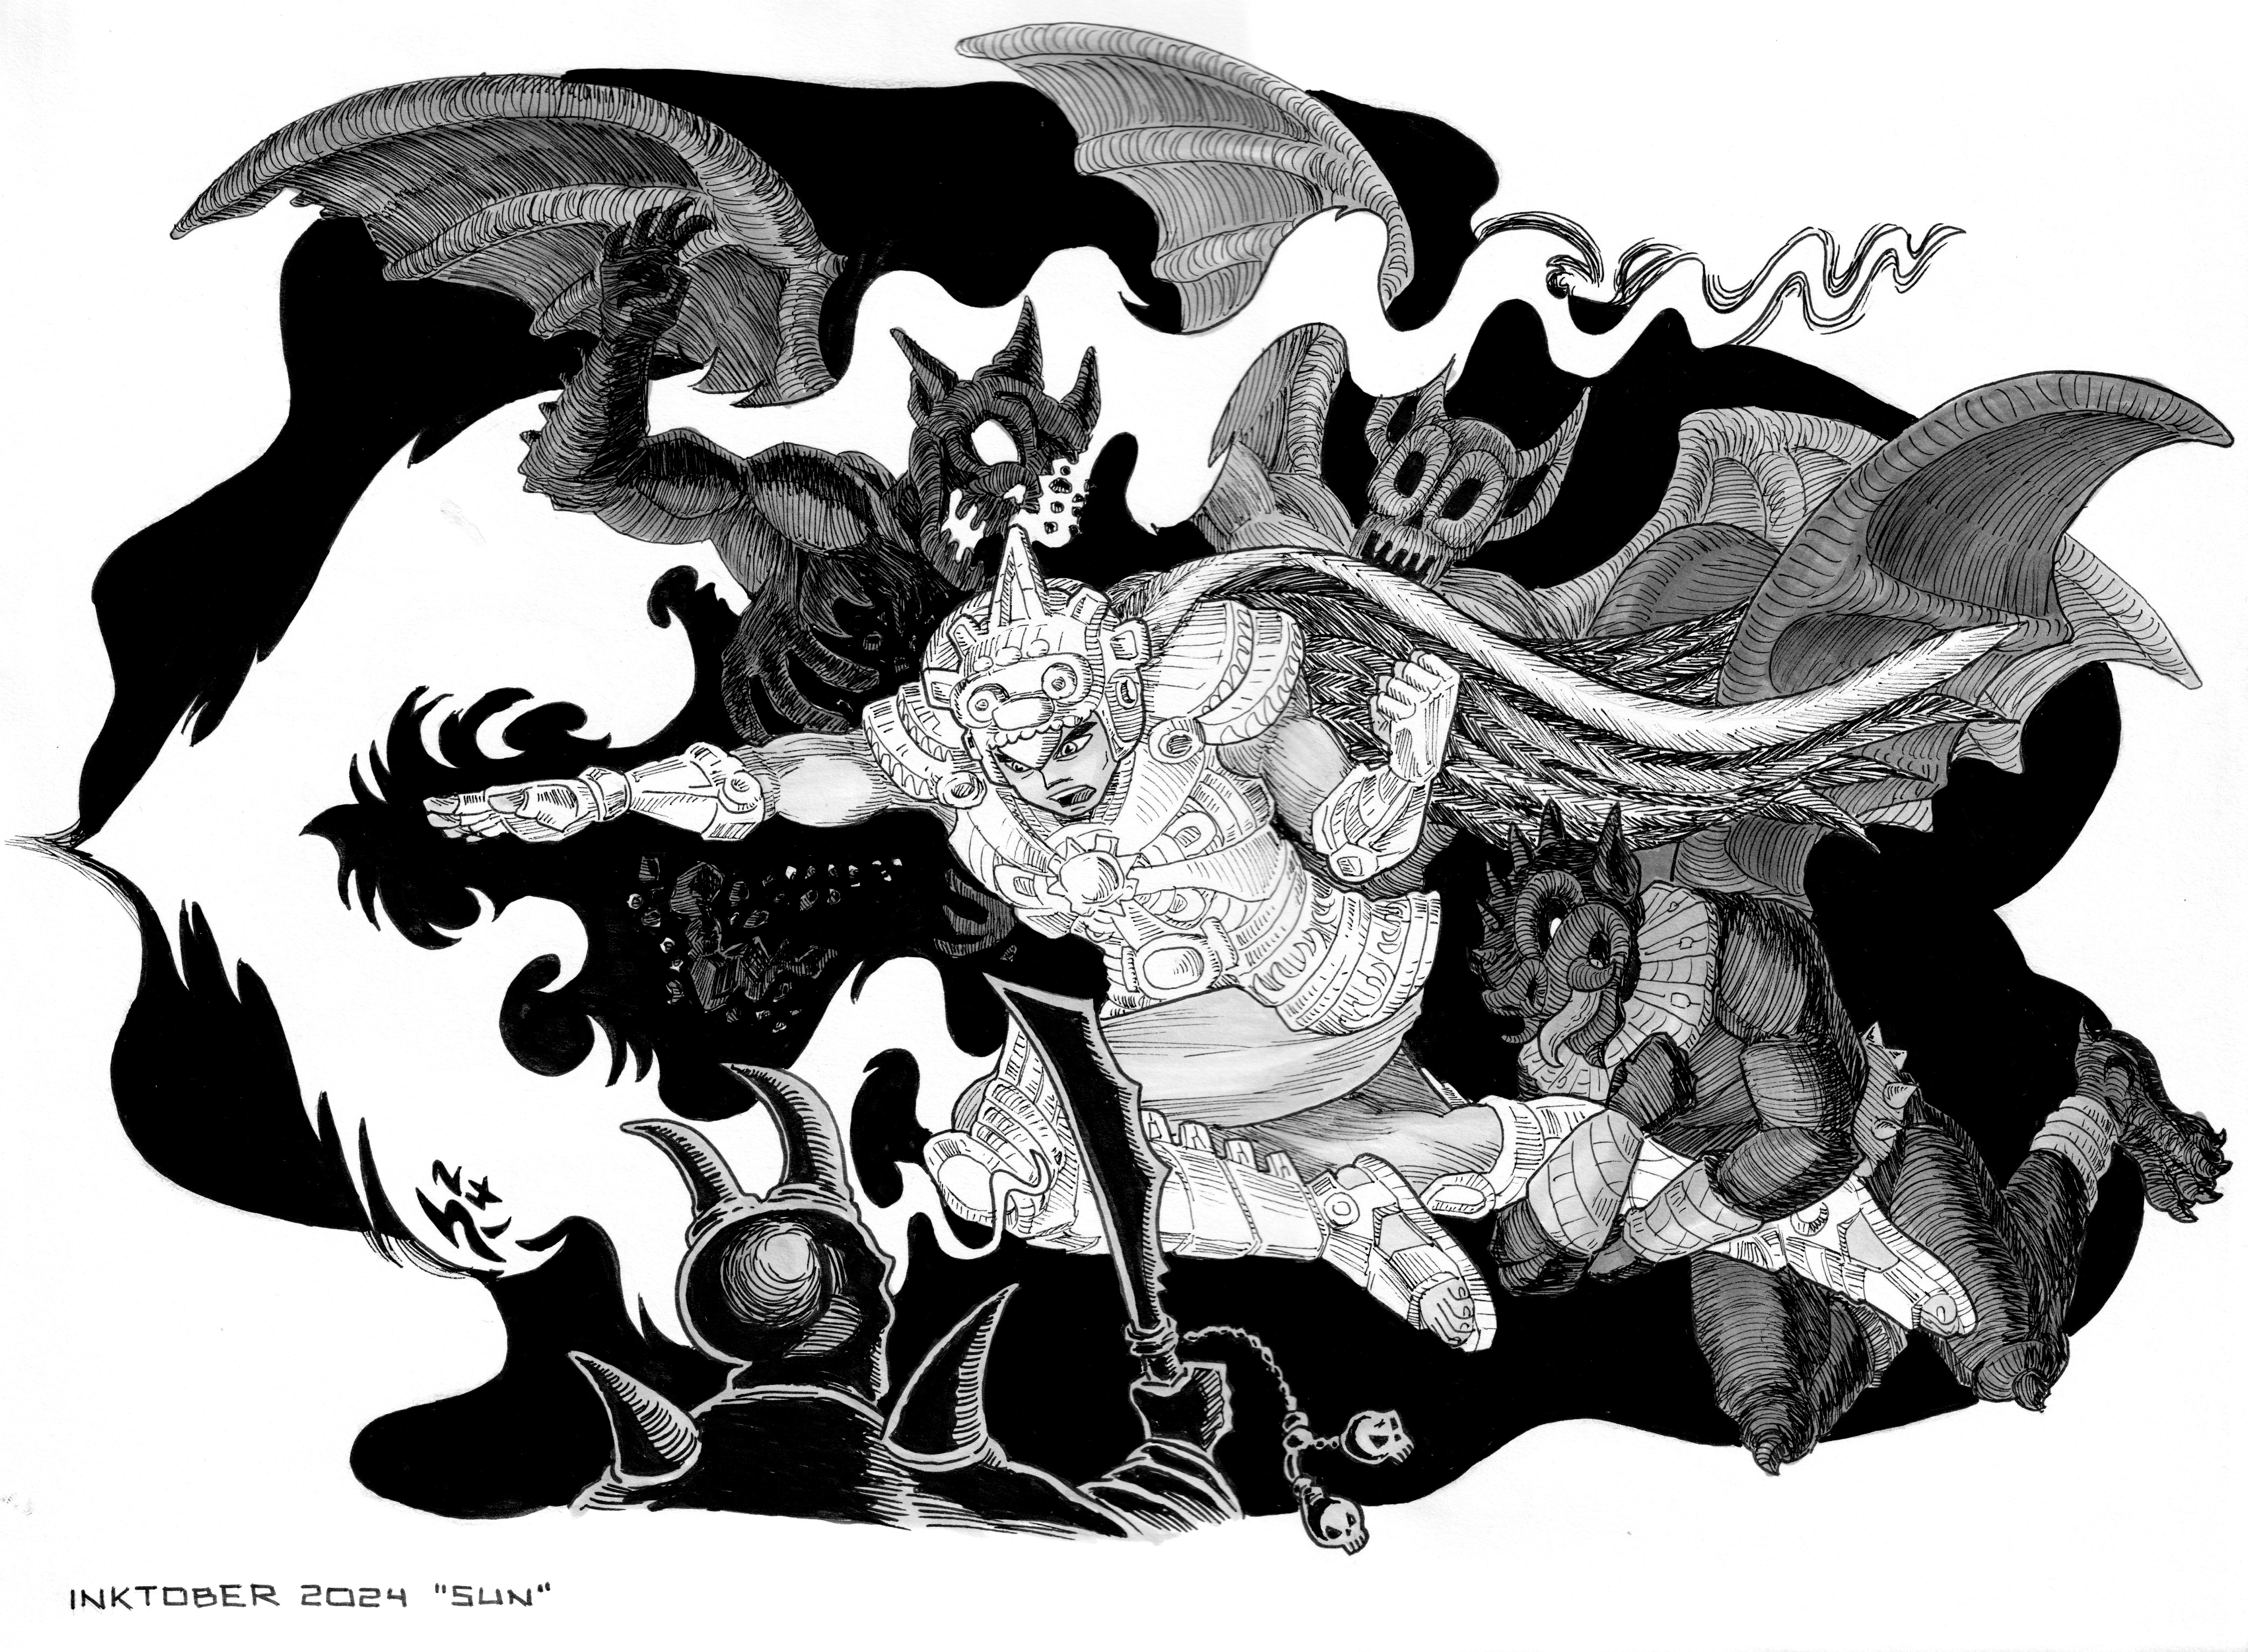
As I’ve shared before, my favorite medium is ink, and for that, I use my best pens for this, particularly using different thickness per quality line.
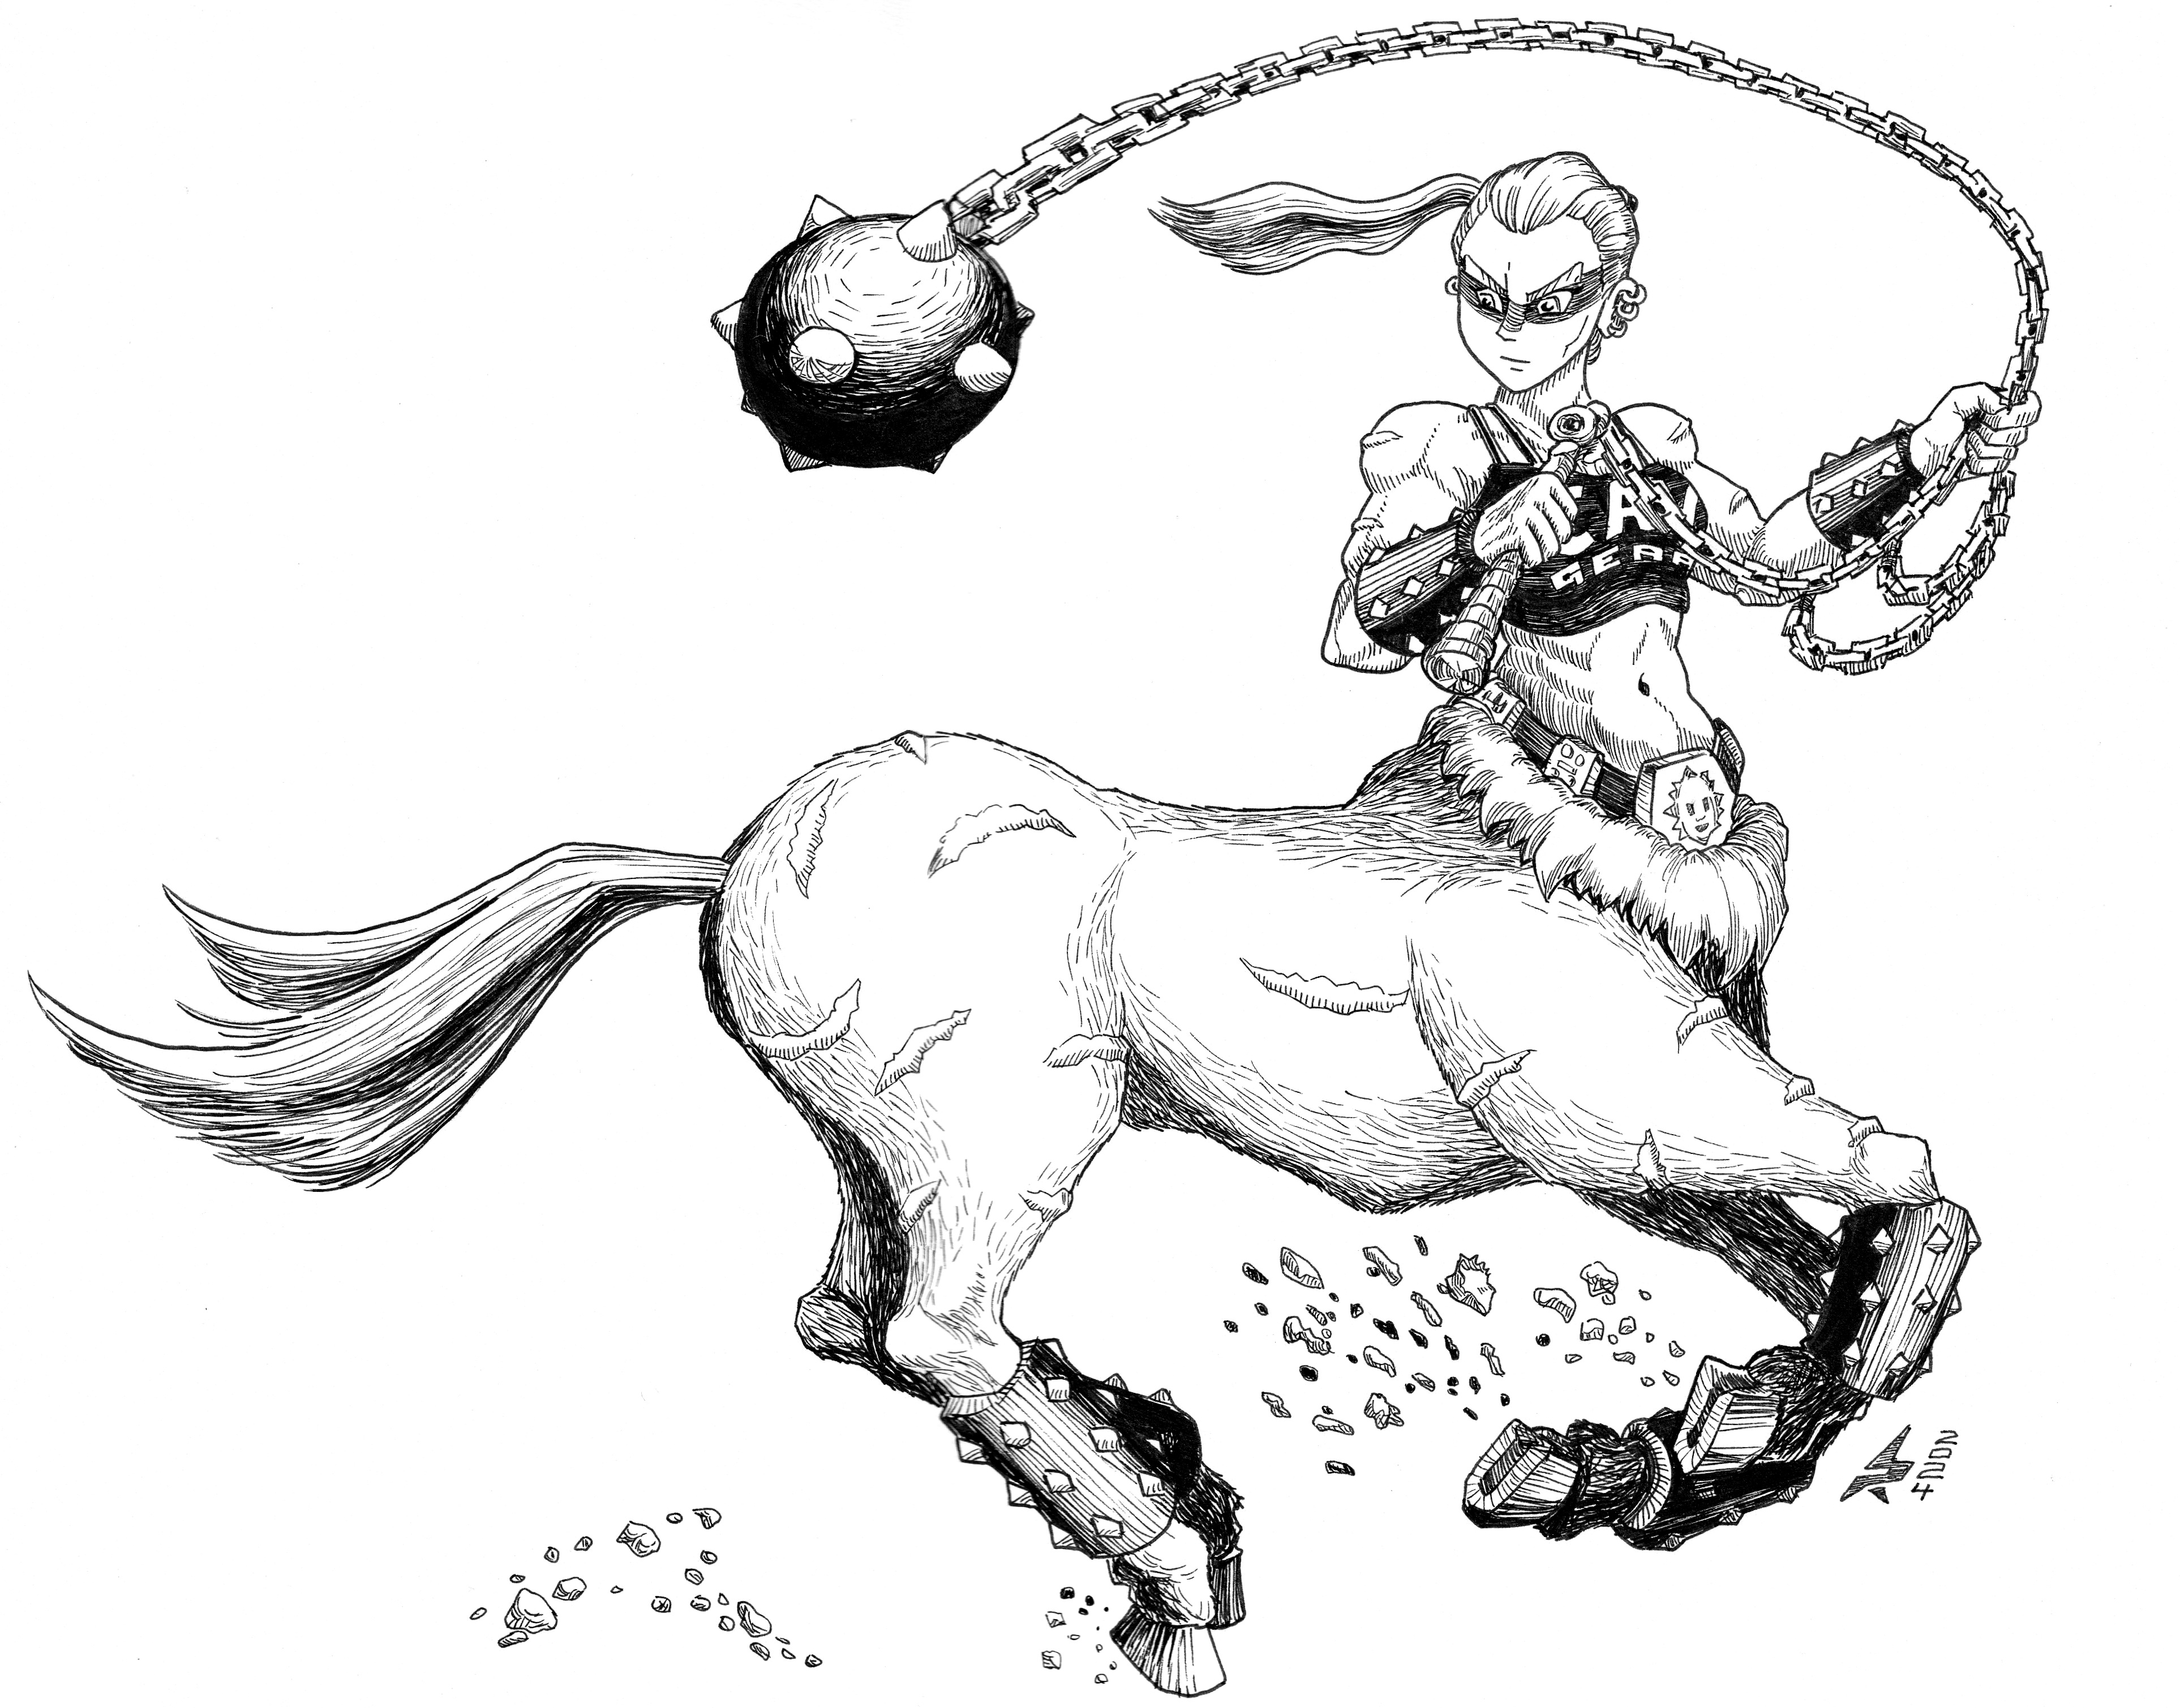
The silhouettes I usually use thicker point, however, it is a very good thing that only the darker parts of the contour are the ones done with the thickest point, while the more illuminated are done with corresponding thinner.
Now, about the interior of the drawing, in here you will have to chose between thick and thin and all in between depending of what you are trying to achieve, most crosshatching requires thinner because you are conveying texture. Certain details will be all solid black if they are in total darkness, and so on.
Always Remember the TRIAD Method Purpose
STEP 1: Solve complexity
STEP 2: Validate
STEP 3: Execute
The purpose of the TRIAD method is not to make drawing easier (it’s doesn’t even teach you how to draw).
The purpose is to move you from not doing anything to DOING AND FINISHING. By moving uncertainty to earlier and easier phases to allow execution to be focused and confident In the end.
