Validation and Freedom
The key of this second step is: “Validate your drawing idea”.
And you will achieve this by freely experimenting on your sketch.
Work On a Foundation
The first thing you need to do is to scale up your step 1 thumbnail. This must be the canvas you’ll work on and you can achieve this either if you are drawing digitally or traditonally on paper.
If you’re doing it digitally, you can enlarge the thumbnail and use it as a background layer of your middle sketch.
If you’re using paper, print it at larger scale, and trace it. Yes, you are allowed to trace your own drawings!
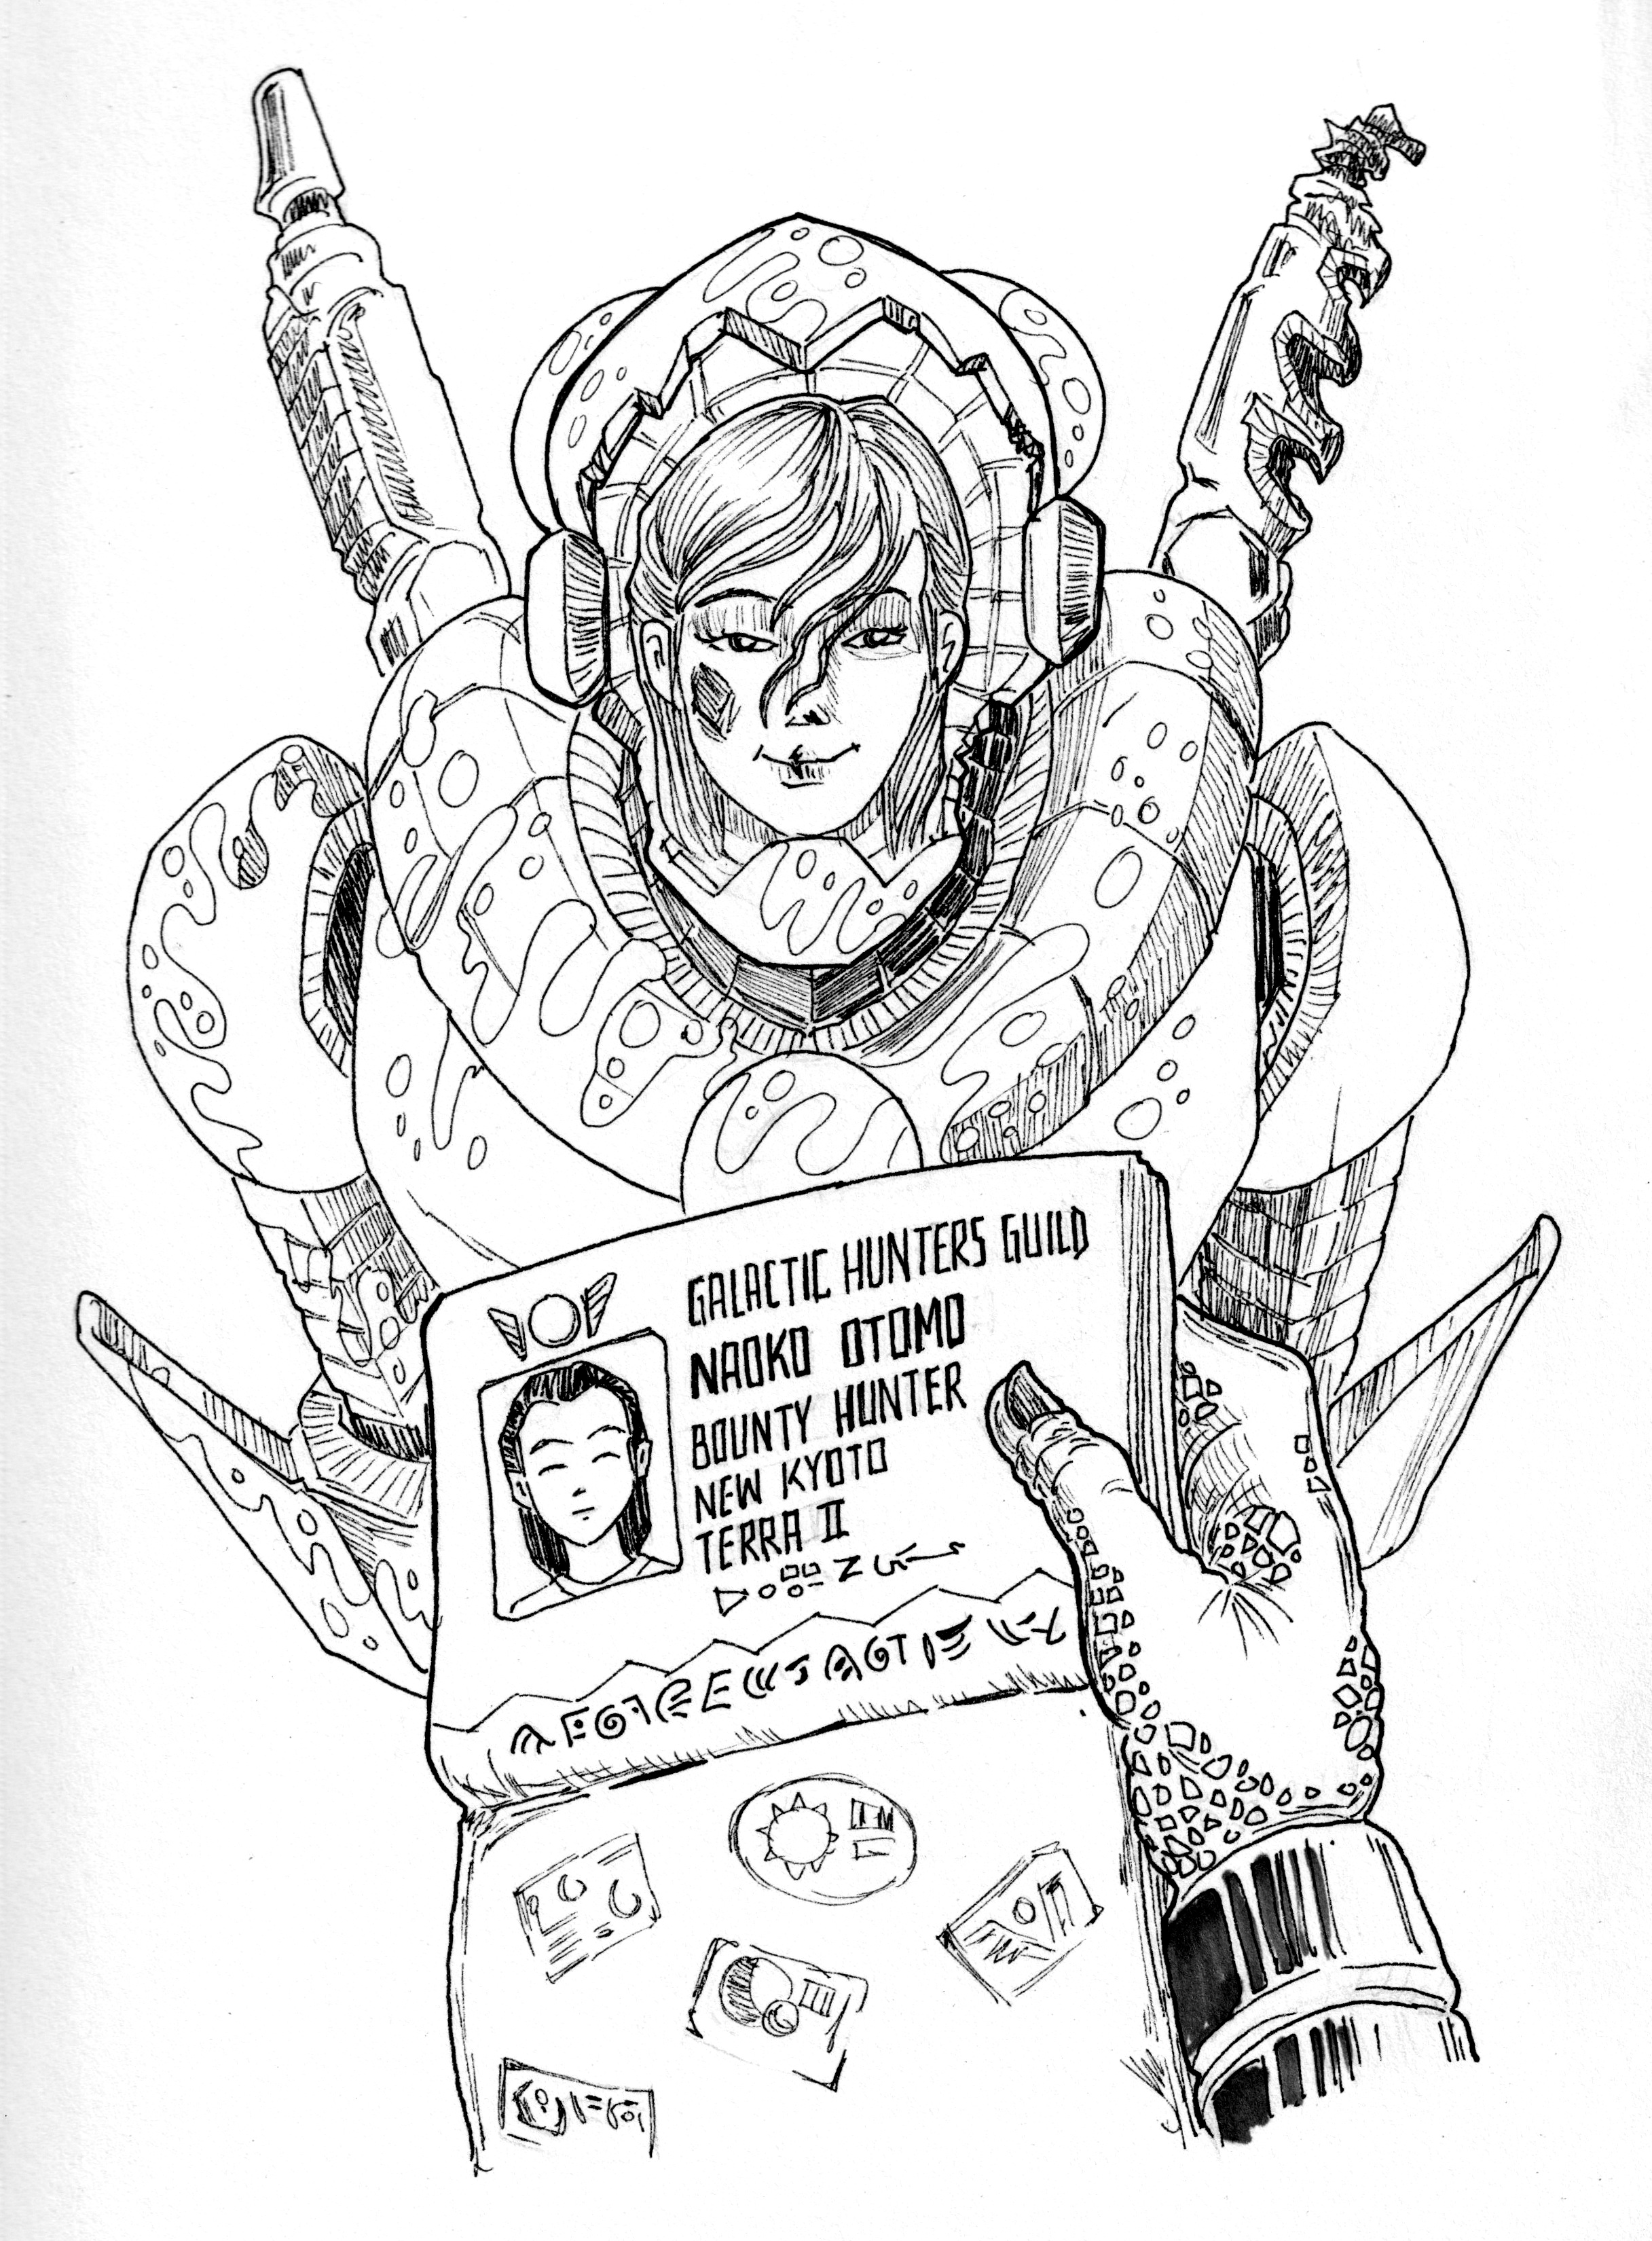
This is the time to add details, adjust things in general and all this without having to worry about the foundation of composition, poses or silhouettes (all of them you have solved them in step 1).
Experimenting with Control
Since you already have a foundation that works (and most importantly, one that we don’t have to worry about) in here you start filling your drawing with details, corrections and anything that contributes to fill your skech with life.
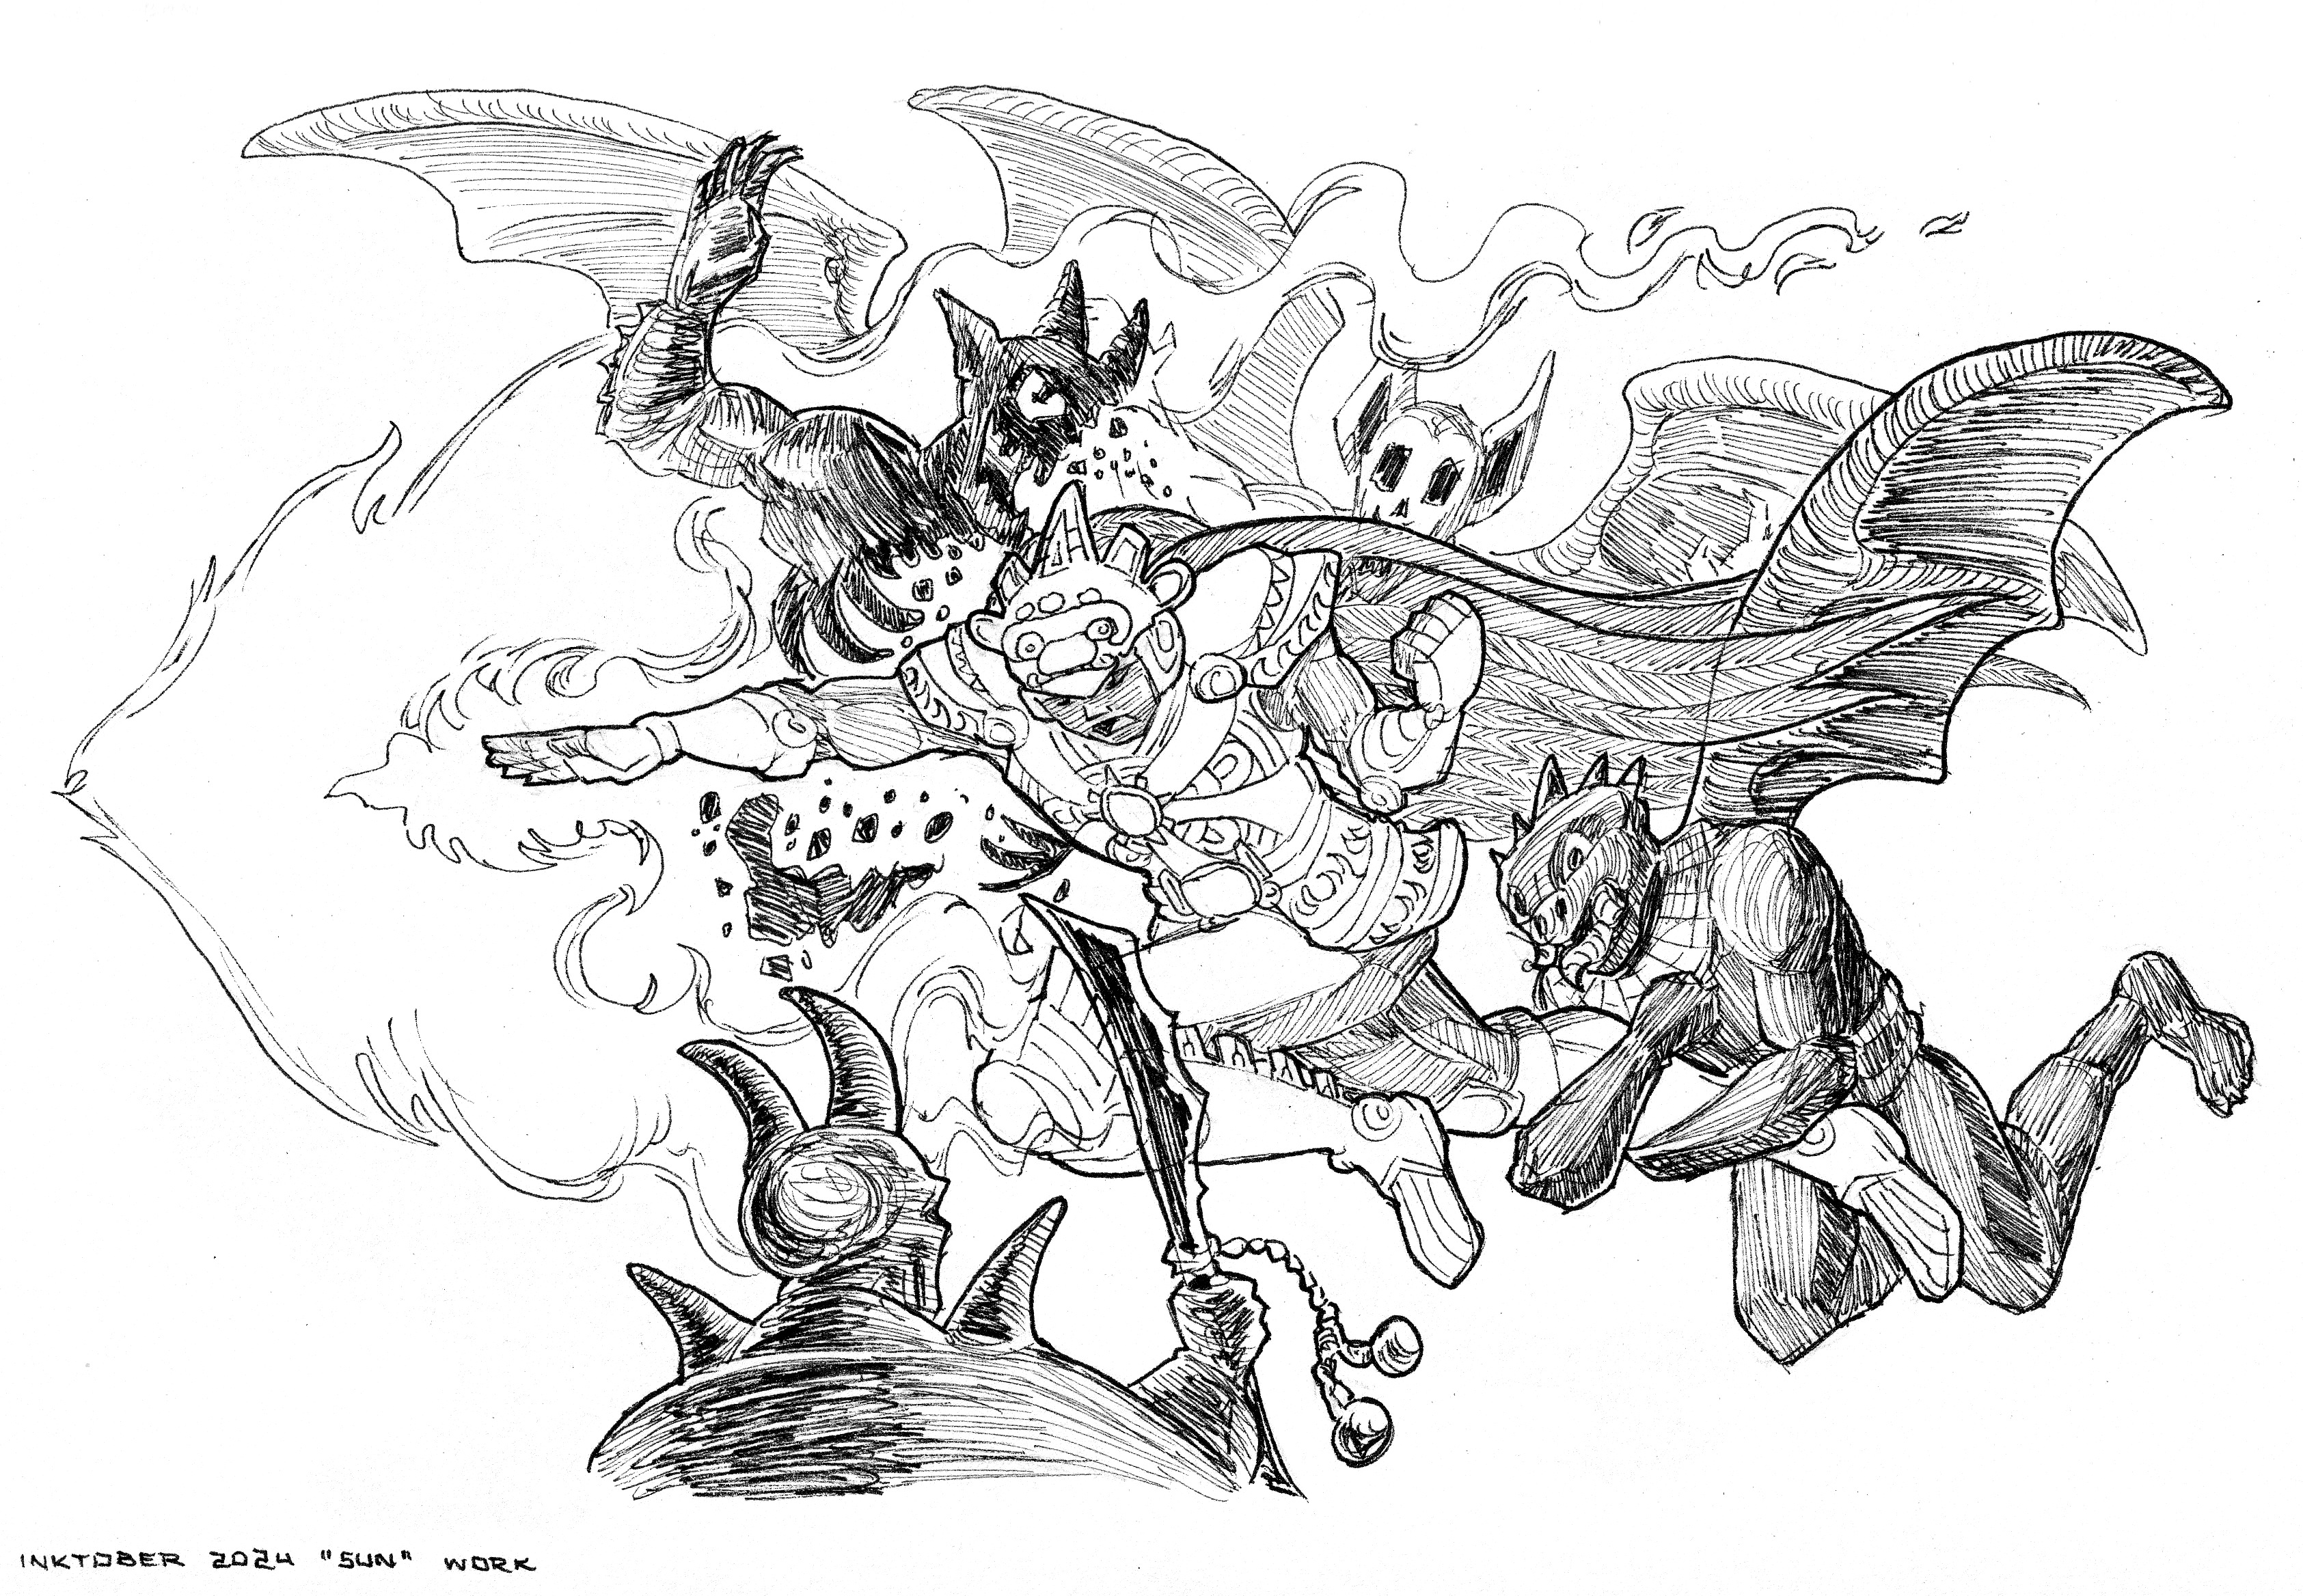
For example, if there’s some new crosshatching you want to test, here’s where you can try it out.
You want to find out if that shading or lighting will enhance your drawing, you can easily do it without having to worry of making it perfect.
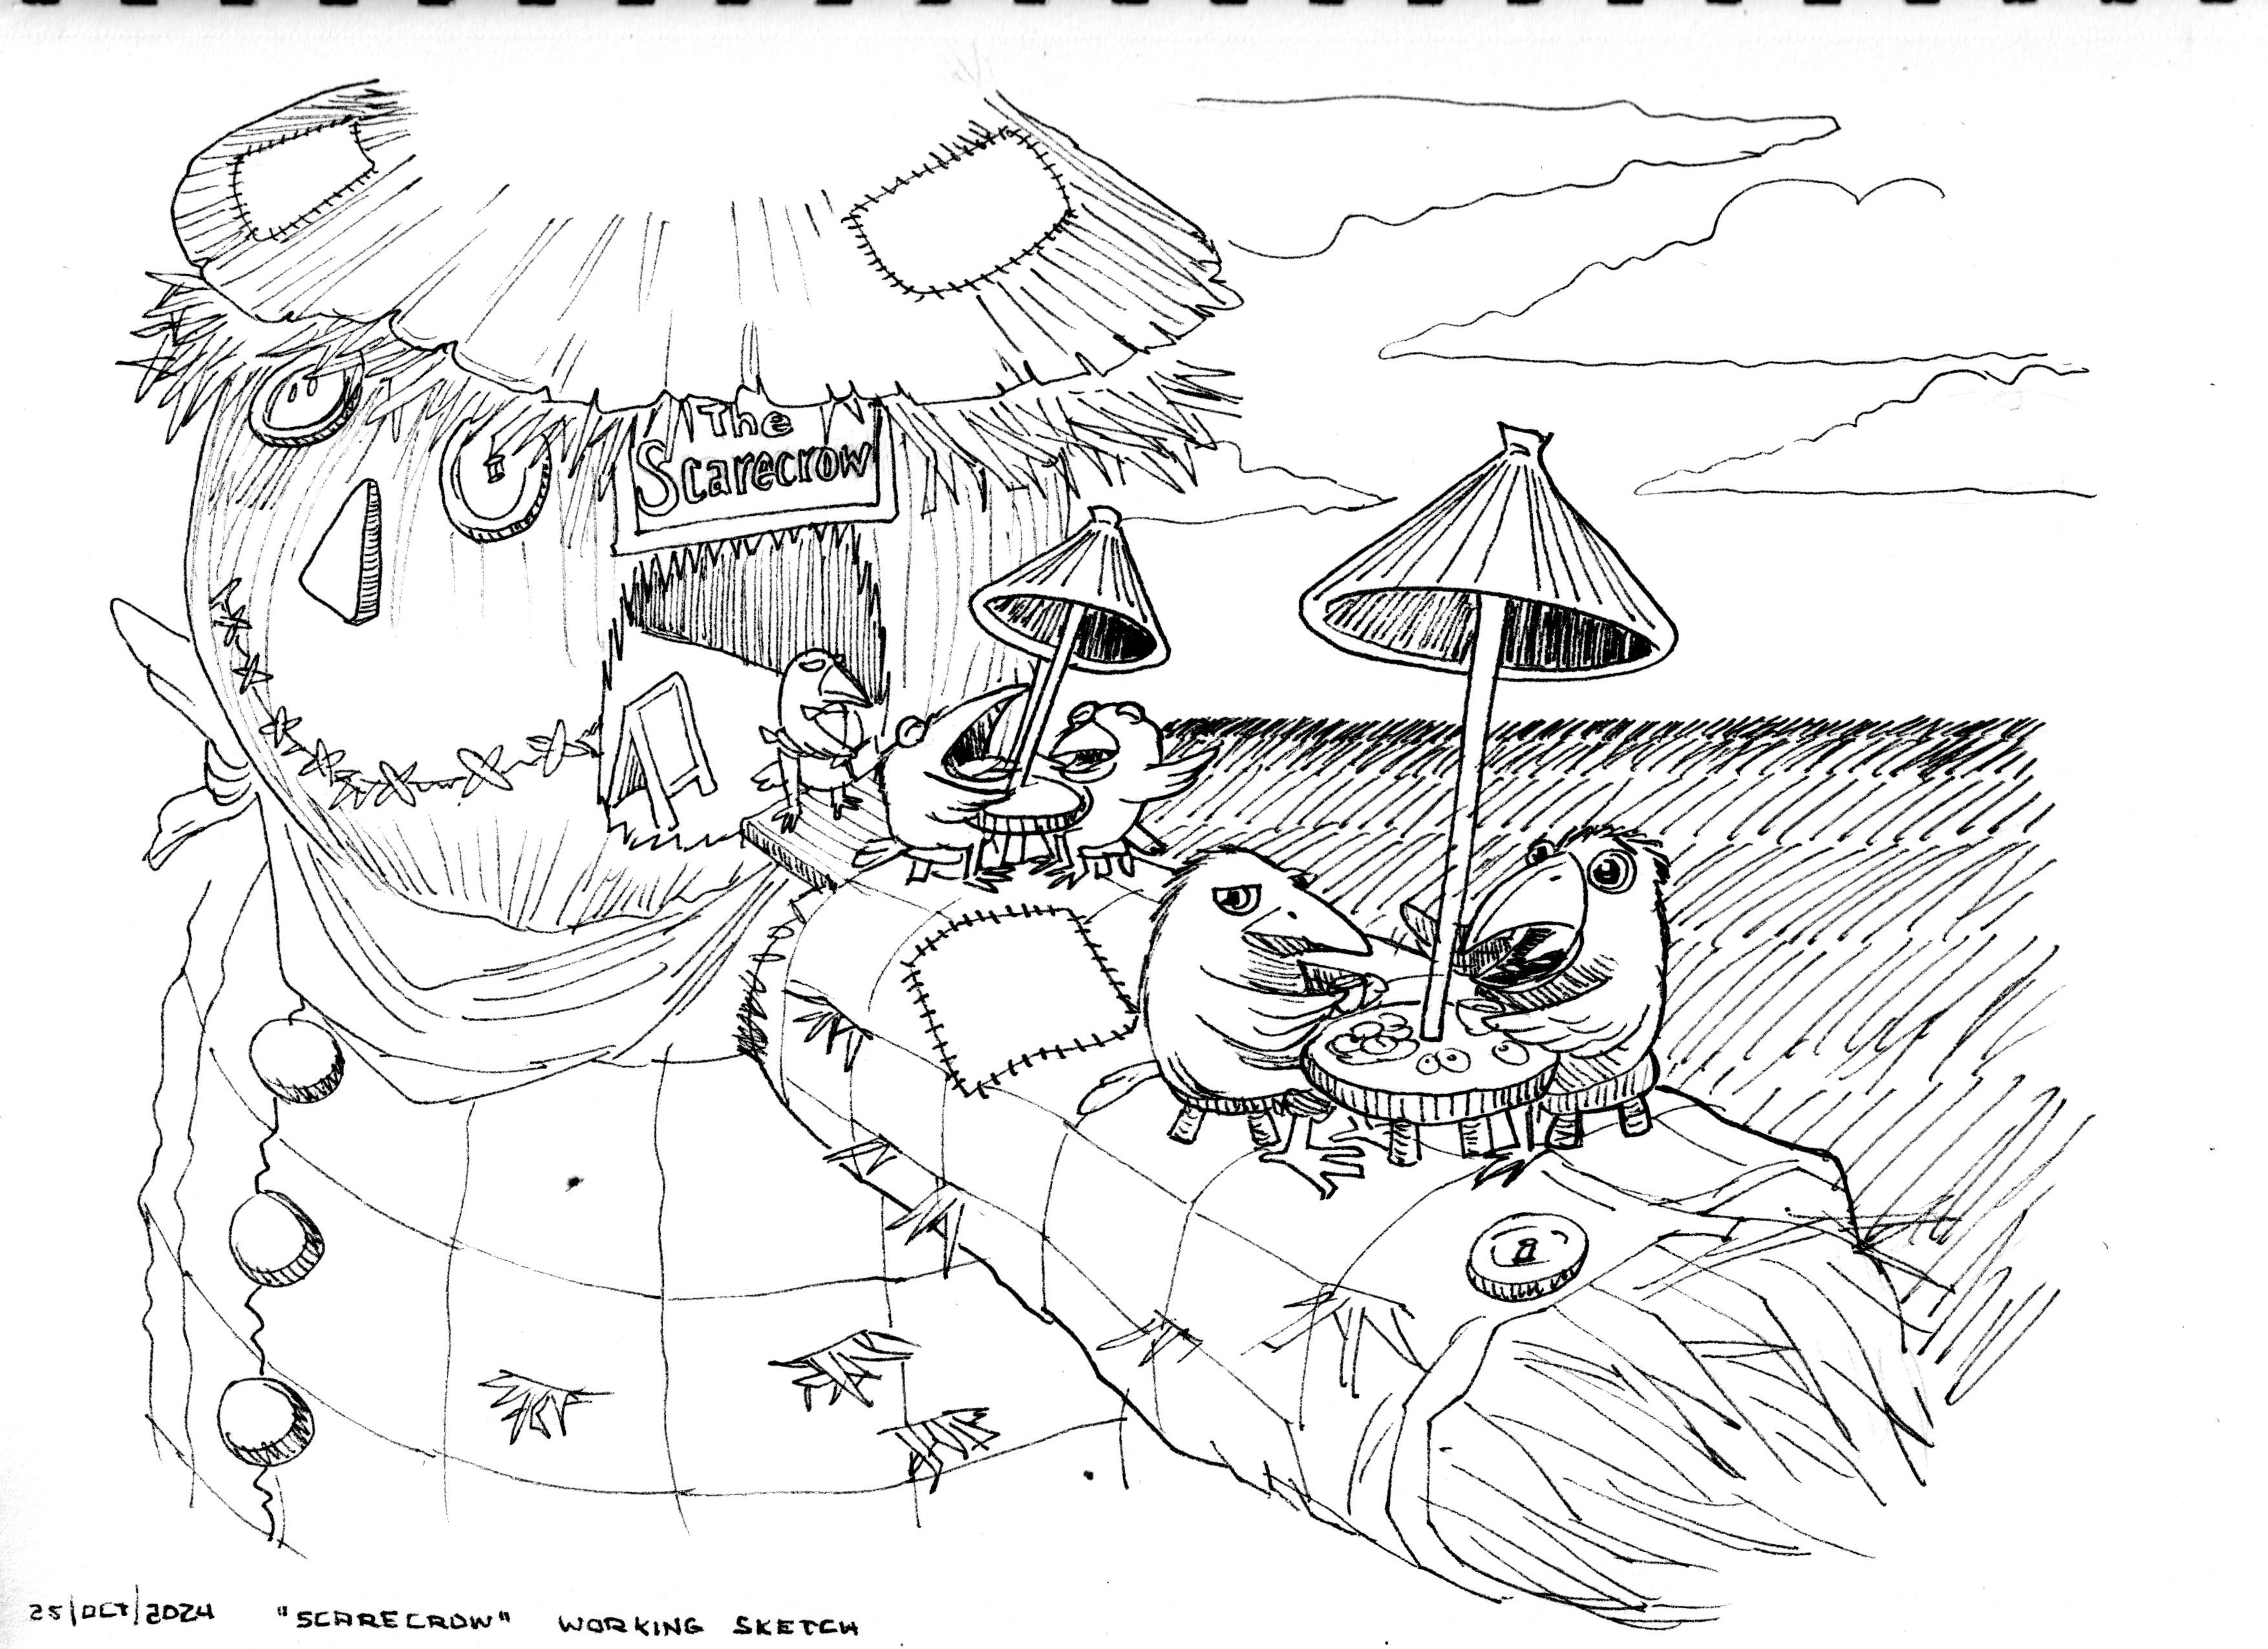
On a previous version of my method, I even tilted this step as “The Working Sketch”.
The most important thing to take into account, is that this the best place to experiment.
The Perfect Chance for References
If you also think how absurd is the dilemma of “Drawing from References vs Drawing from Imagination”, then you know where I am going here. You use whatever you need when you need it.
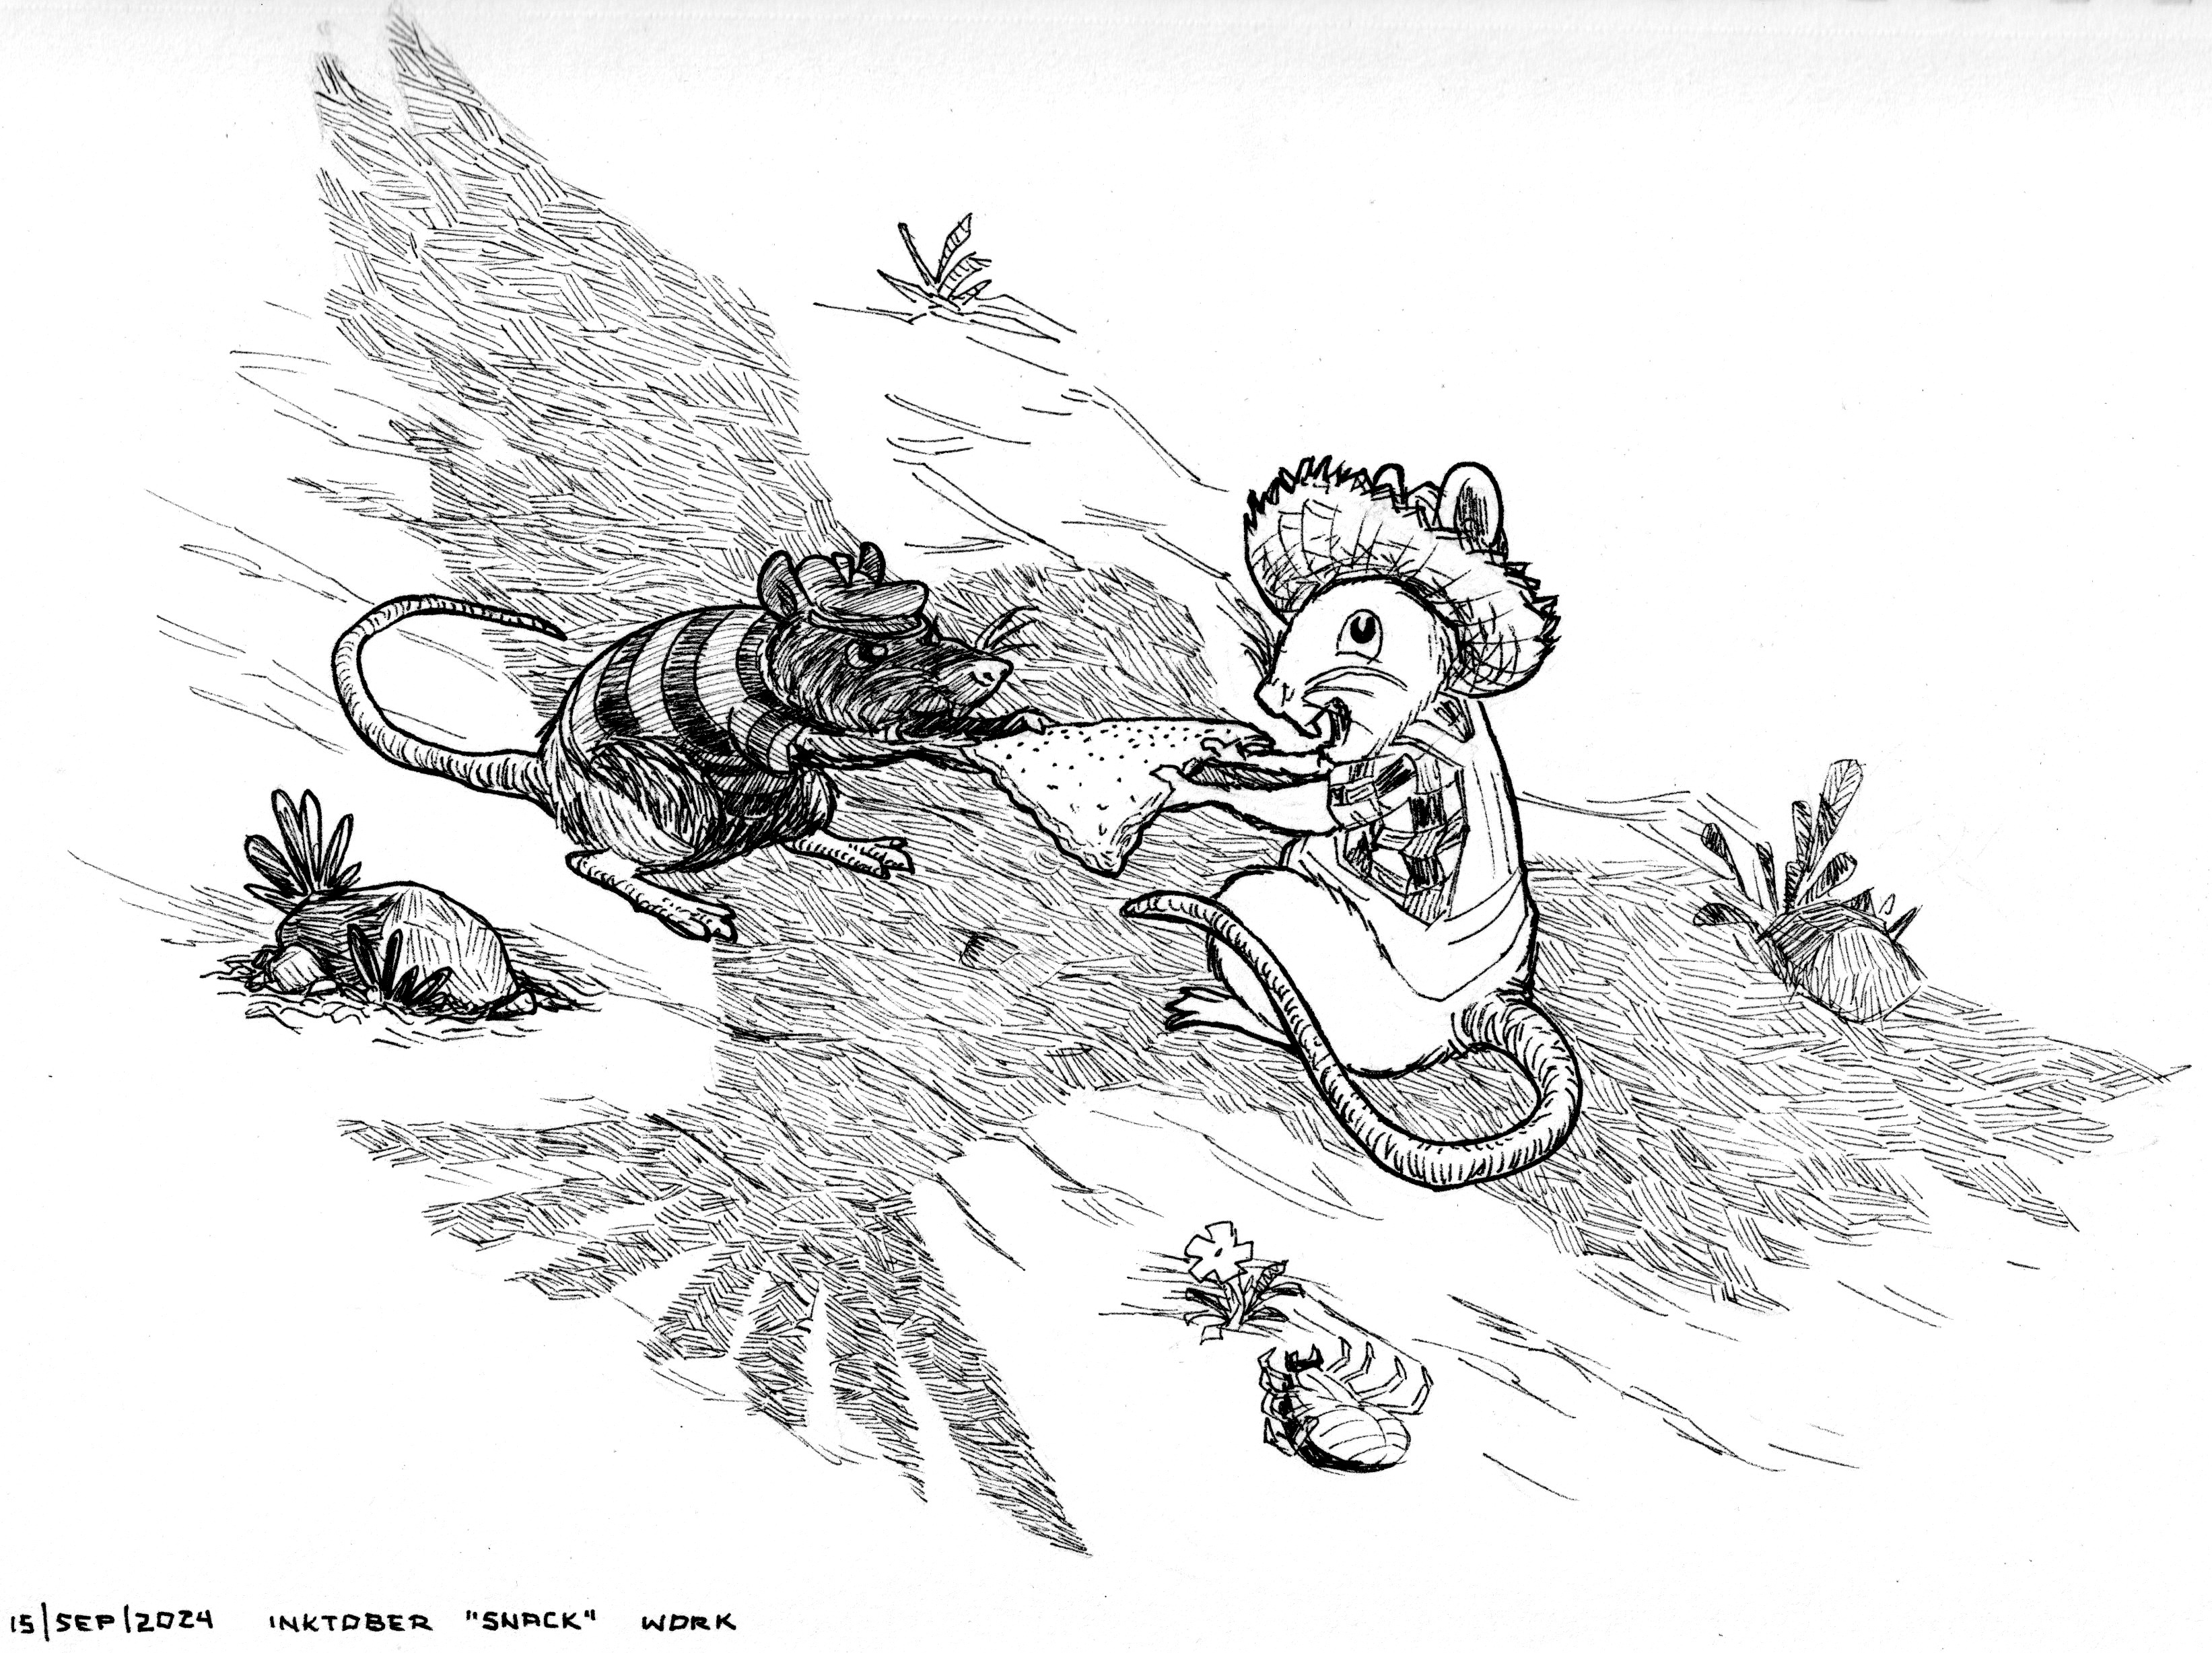
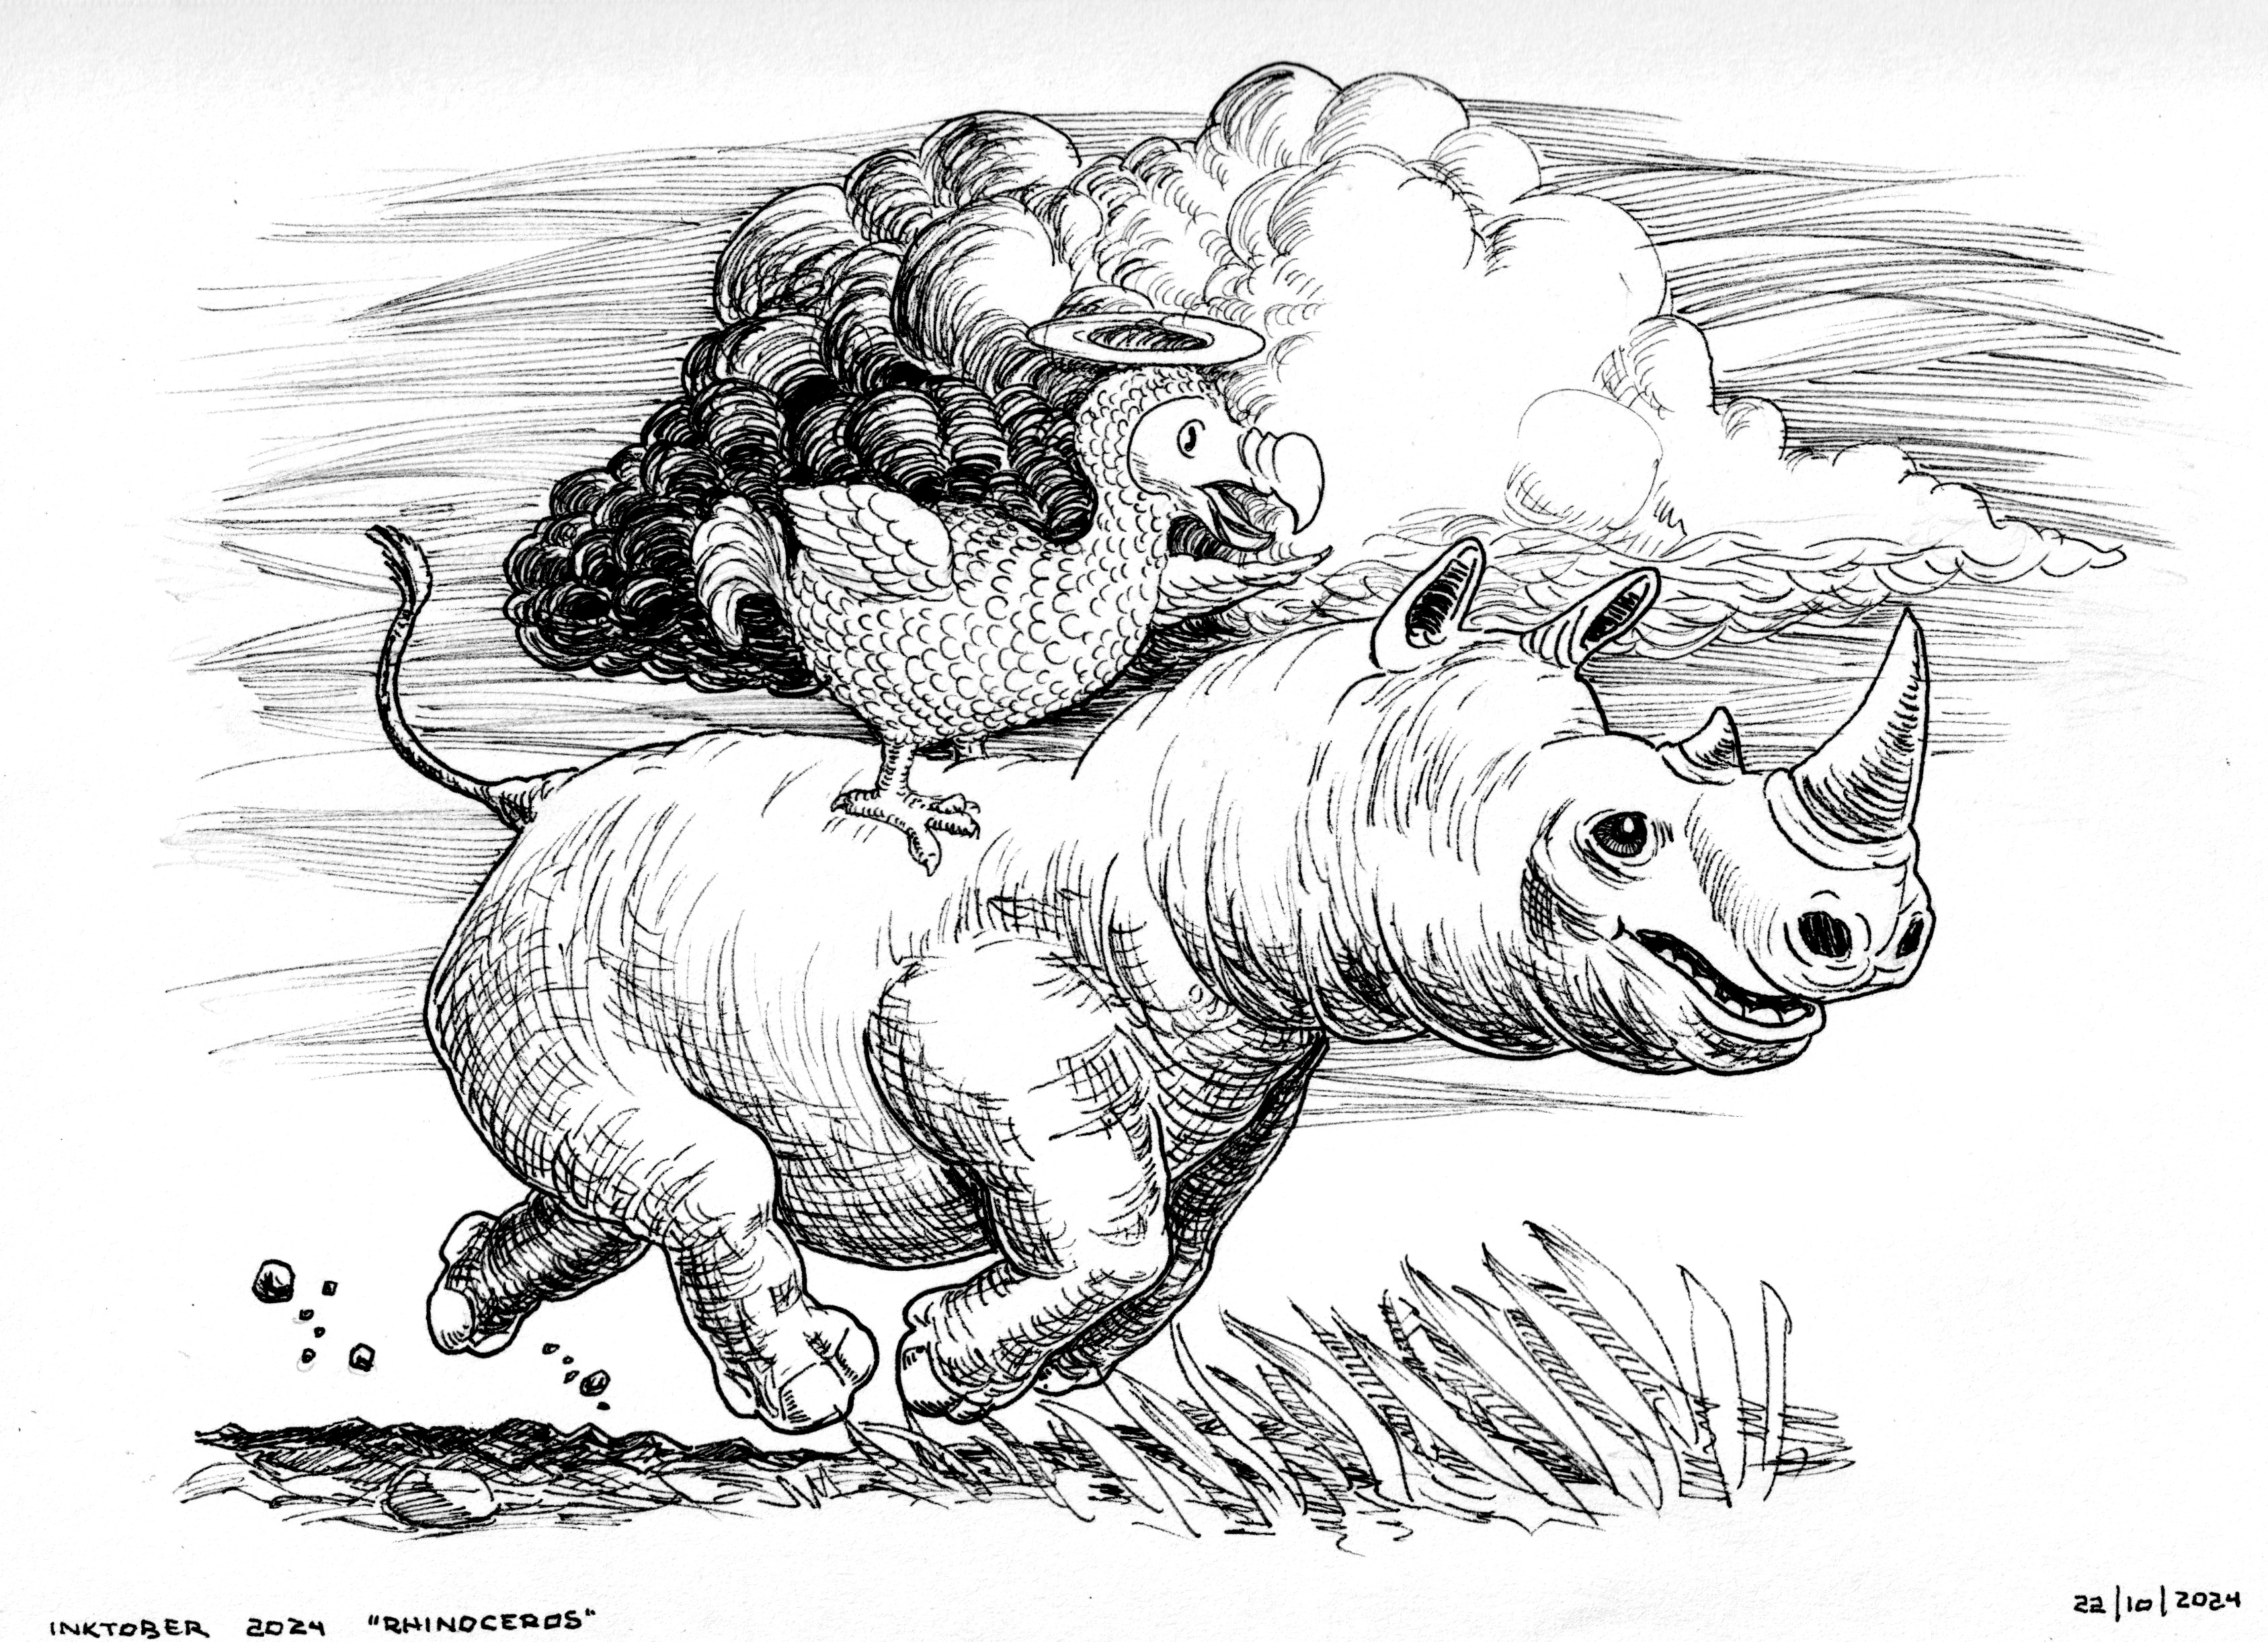
My personal take is to draw initially from imagination, and only if you need it, then use references to ground details over. Not sure how real bird wings should look? Go find some photos and use them as reference. Wanna avoid those jet turbines on your original vehicle look like hotdogs? Check them out on a real Jet photograph and make them your own style.
Keep in mind that all this work should be aimed at one thing: Enhance your vision of the drawing.
A Great Spot to Turn Around
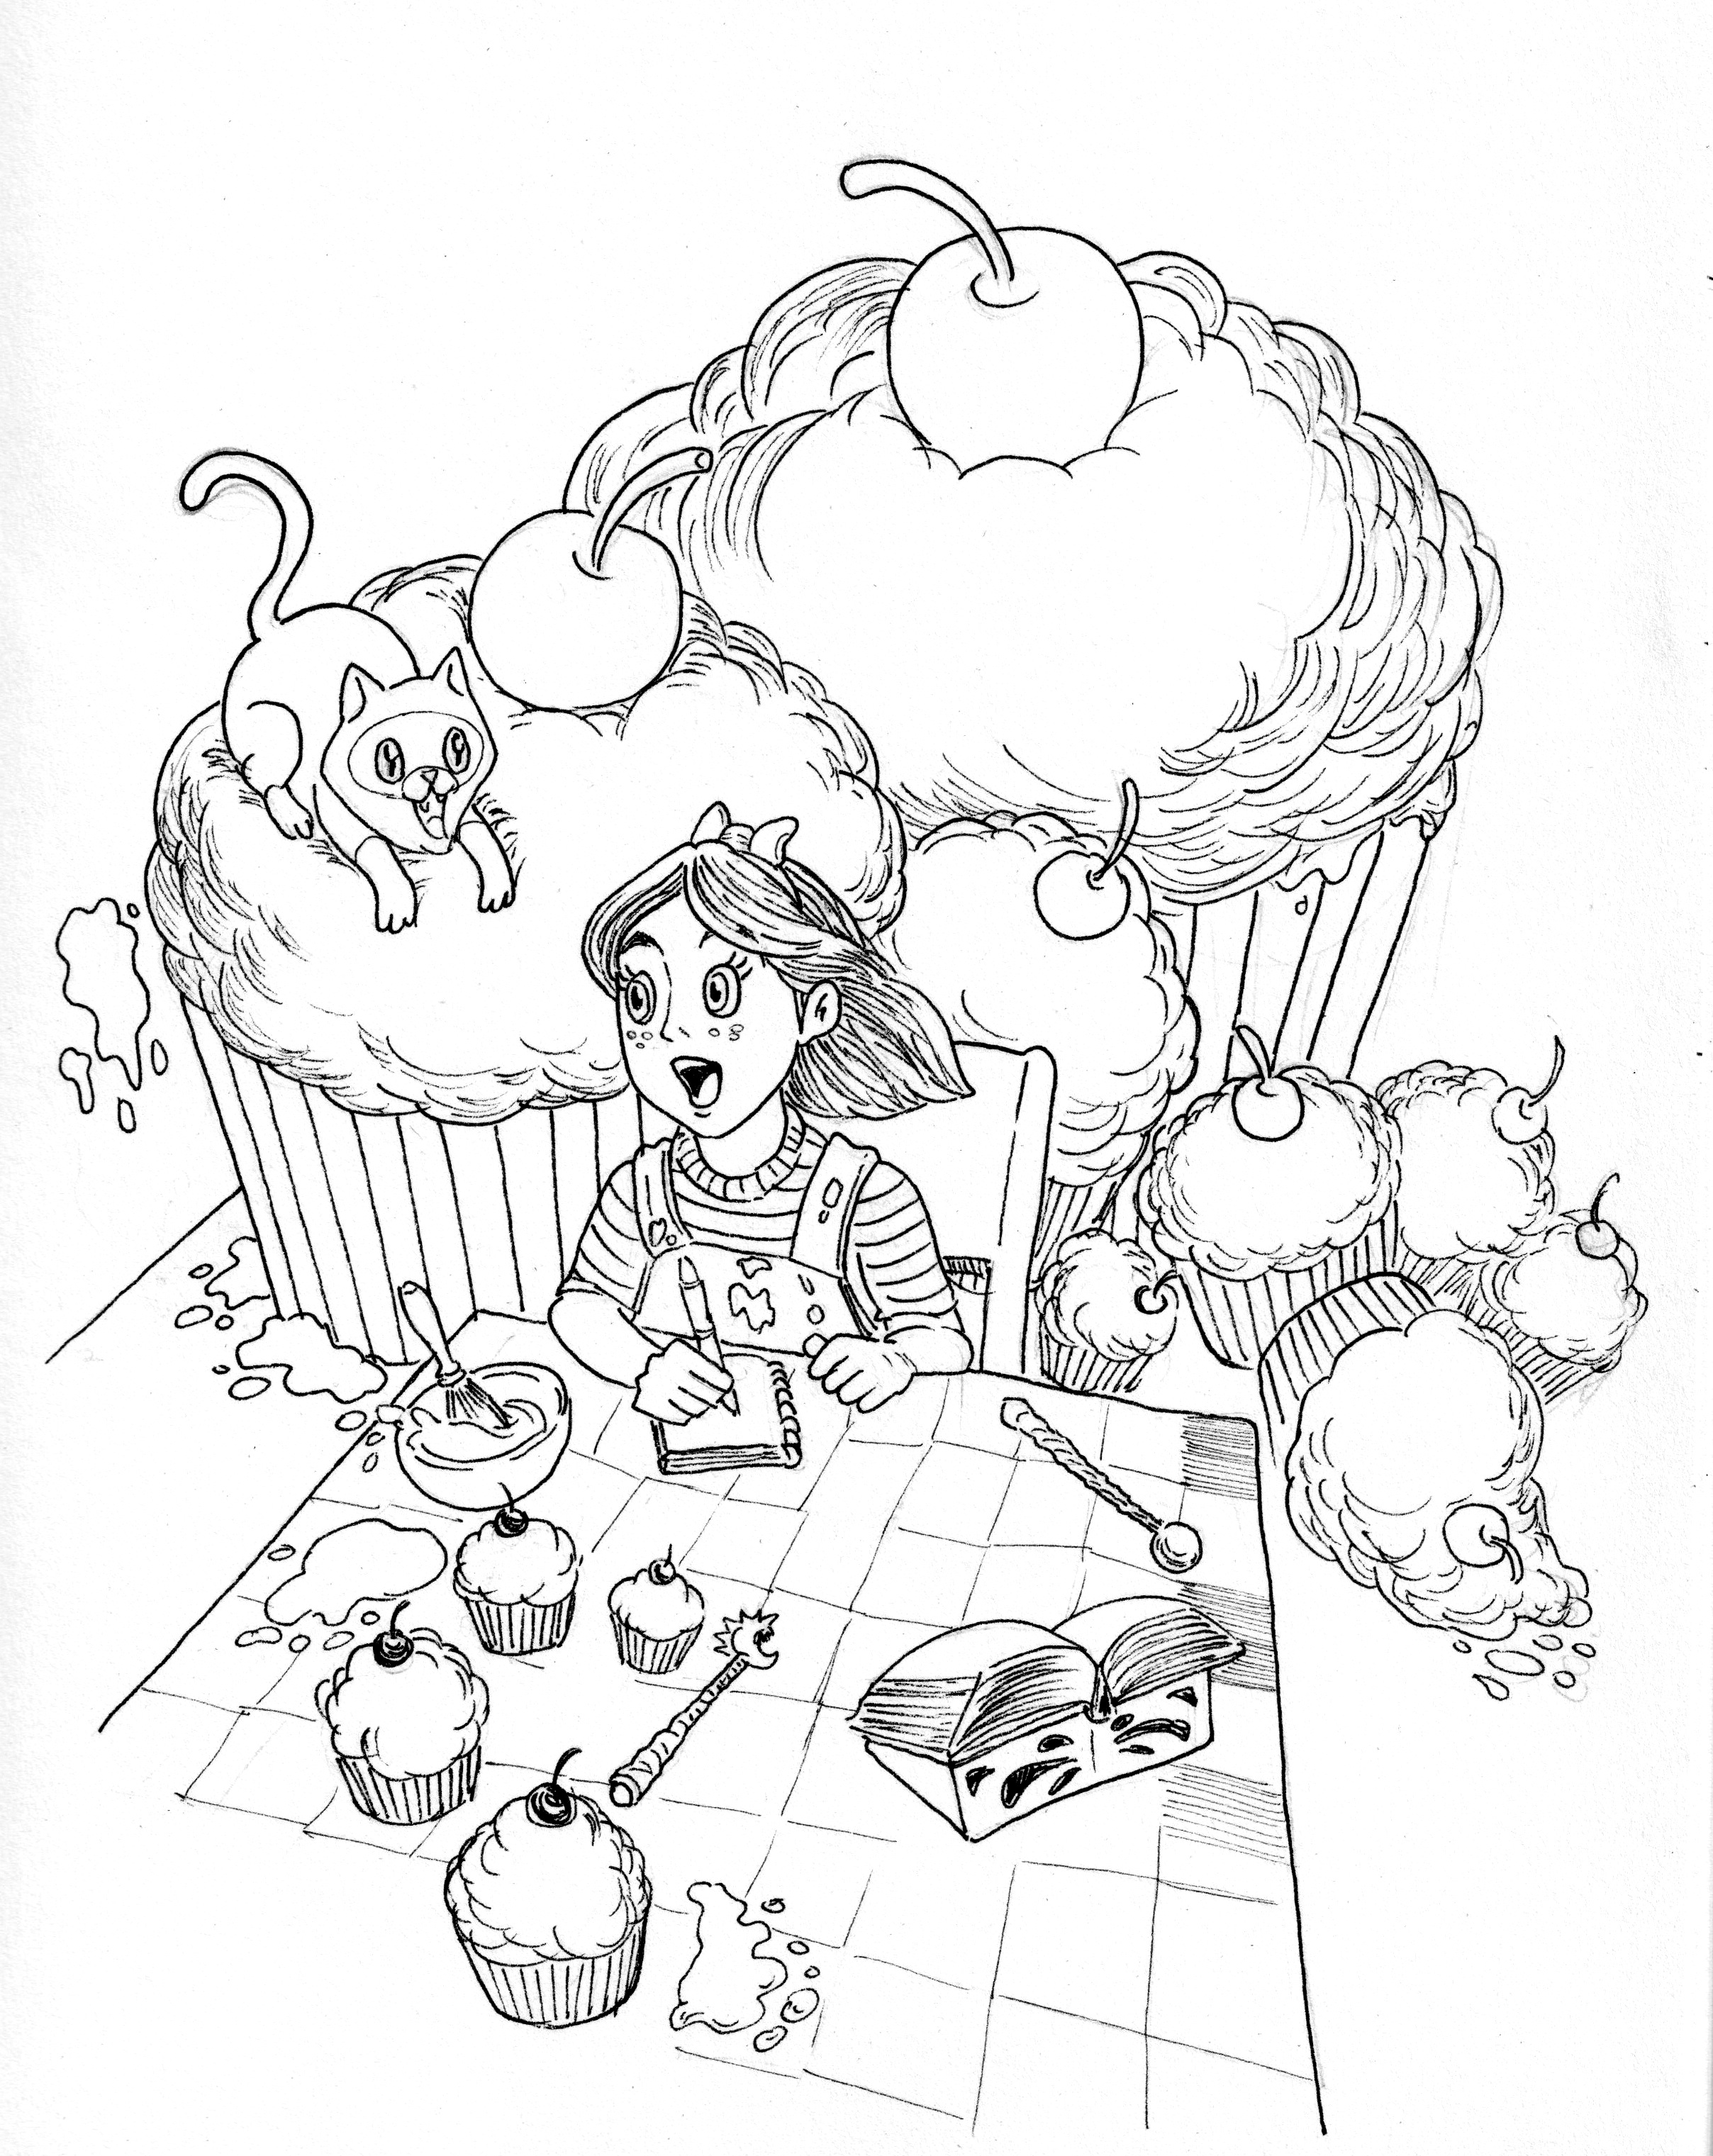
Working on your middle sketch lets you find one thing: Certainty your drawing will work.
Since your drawing is taking shape, it is very important that you’re not as perfectionist with your lines, because here as well you can discover that you might need to go back to Step 1, and this is OK.
If you work too hard on this sketch and you realize this is not what you want, you might be spoiling the main principle of the whole TRIAD method, which is iteration.
Sometimes You can even Start Here
As you put in practice the TRIAD method, you’d be surprised how even some of this steps can blend.
It has not been the first time where my first sketch is a mix between step 1 and step 2, where what I have drawn resembles more a middle sketch than a thumbnail. If you find in this situation, it is totally fine to realize you can go ahead to Step 3 directly. Remember, the method is a guideline and a tool, not an assignment you need to stick to it for the sake of it.